##Introduction
The advantages of adding a real time clock to a Raspberry Pi is that if you got a bad connection the Raspberry doesnt reset time and set it to 1970 everytime to do this you need a ds3231 pretty much available worldwide.
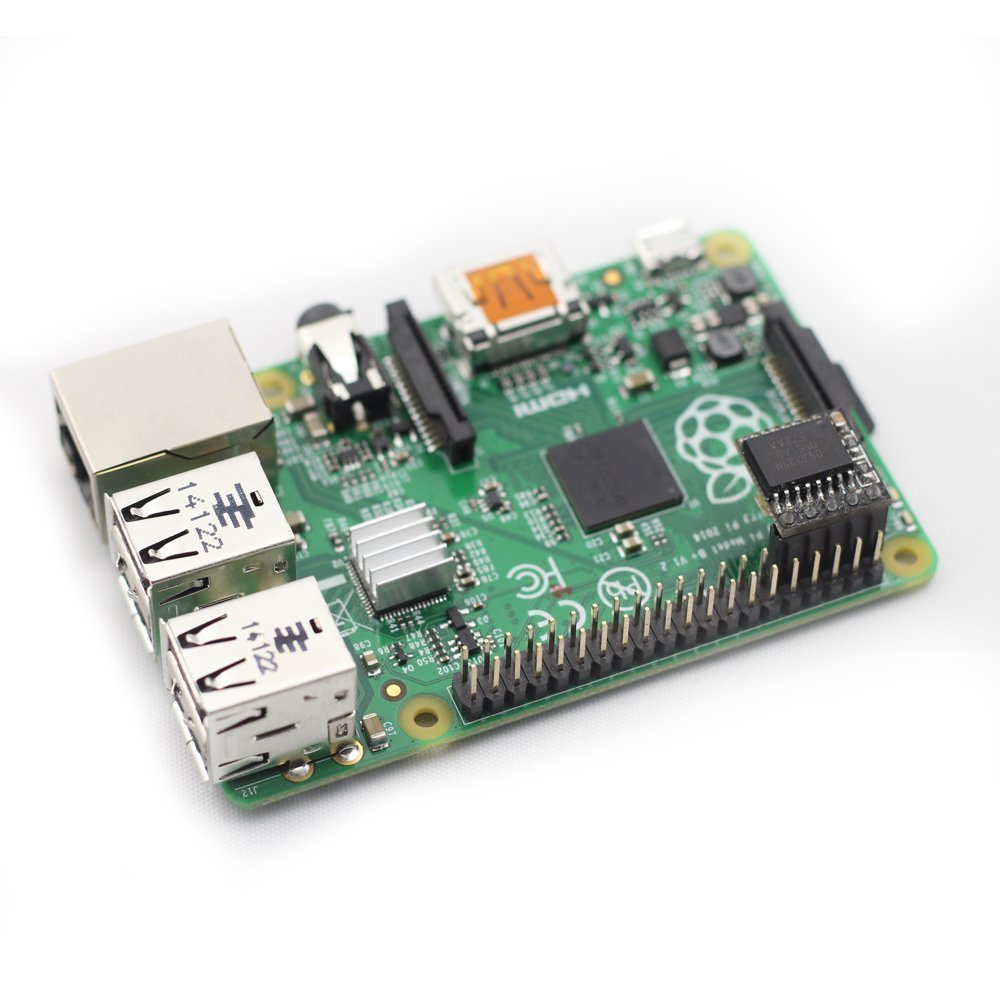
first off start by adding the RTC clock to your raspberry and placing on the gpio pins per image above.
then run this script, what the script does is installs python-smbus i2c-tools then adds dtparam=i2c_arm=on and dtoverlay=rtc-i2c,ds3231 to /boot/config.txt
then it adds #blacklist i2c-bcm2708 and #blacklist i2c-dev to /etc/modprobe.d/raspi-blacklist.conf
and last but not least i2c-bcm2835, i2c-dev, rtc-ds1307 to /etc/modules.
#!/bin/bash
if [[ "$USER" != 'root' ]]; then
	echo "Sorry, you need to run this as root"
	exit
fi

install_i2c () {
    apt-get install -y python-smbus i2c-tools
    if grep -Fxq "dtparam=i2c_arm=on" /boot/config.txt
        then
	        echo \"dtparam=i2c_arm=on\" is present in config.txt
        else
	        echo "dtparam=i2c_arm=on" >> /boot/config.txt
	        echo \"dtparam=i2c_arm=on\" is added to config.txt
    fi
    if grep -Fxq "dtoverlay=rtc-i2c,ds3231" /boot/config.txt
        then
	        echo \"dtoverlay=rtc-i2c,ds3231\" is present in config.txt
        else
	        echo "dtoverlay=rtc-i2c,ds3231" >> /boot/config.txt
	        echo \"dtoverlay=rtc-i2c,ds3231\" is added to config.txt
    fi
    if grep -Fxq "#blacklist i2c-bcm2708" /etc/modprobe.d/raspi-blacklist.conf
        then
	        echo \"#blacklist i2c-bcm2708\" is present in raspi-blacklist.conf
        else
	        echo "#blacklist i2c-bcm2708" >>/etc/modprobe.d/raspi-blacklist.conf
	        echo \"#blacklist i2c-bcm2708\" is added to raspi-blacklist.conf
    fi
    if grep -Fxq "#blacklist i2c-dev" /etc/modprobe.d/raspi-blacklist.conf
        then
	        echo \"#blacklist i2c-dev\" is present in raspi-blacklist.conf
        else
	        echo "#blacklist i2c-dev" >>/etc/modprobe.d/raspi-blacklist.conf
	        echo \"#blacklist i2c-dev\" is added to raspi-blacklist.conf
    fi
    if grep -Fxq "i2c-bcm2835" /etc/modules
        then
	        printf "i2c-bcm2835\ni2c-dev\nrtc-ds1307\n" is present in modules
        else
	        printf "i2c-bcm2835\ni2c-dev\nrtc-ds1307\n" >>/etc/modules
	        printf "i2c-bcm2835\ni2c-dev\nrtc-ds1307\n added modules\n"
    fi
    reboot
}

install_i2c
next up is getting it started every time whats gonna happen here is that we gonna scan for the device and there is gonna be a number coming up thats gonna look something like this
EXAMPLE:
 sudo i2cdetect -y 1
     0  1  2  3  4  5  6  7  8  9  a  b  c  d  e  f
00:          -- -- -- -- -- -- -- -- -- -- -- -- --
10: -- -- -- -- -- -- -- -- -- -- -- -- -- -- -- --
20: -- -- -- -- -- -- -- -- -- -- -- -- -- -- -- --
30: -- -- -- -- -- -- -- -- -- -- -- -- -- -- -- --
40: -- -- -- -- -- -- -- -- -- -- -- -- -- -- -- --
50: -- -- -- -- -- -- -- -- -- -- -- -- -- -- -- --
60: -- -- -- -- -- -- -- -- 68 -- -- -- -- -- -- --
70: -- -- -- -- -- -- -- --
Now the script below is gonna ask for such a number so just enter the number when promted for it.
#!/bin/bash
if [[ "$USER" != 'root' ]]; then
	echo "Sorry, you need to run this as root"
	exit
fi

install_i2c() {
                rm /etc/init.d/hwclock.sh
                wget https://gitlab.com/swe_toast/OSMC-Addons/raw/master/hwclock.sh -O /etc/init.d/hwclock.sh
                if [ $(sudo i2cdetect -y 1 | wc -l) -ge 1 ] ; then
                echo "i2c found on on pin 1"
                i2cdetect -y 1
                echo "Add the number in the from the test:"
                read number
                echo "ds3231 0x$number" | sudo tee /sys/class/i2c-adapter/i2c-1/new_device
                hwclock -r
                sed -i -e '13imodprobe i2c-bcm2708\' /etc/rc.local
                sed -i -e '14echo ds3231 0x$number > /sys/class/i2c-adapter/i2c-1/new_device\' /etc/rc.local
                sed -i -e '15ihwclock -s\' /etc/rc.local
            else
                if [ $(sudo i2cdetect -y 0 | wc -l) -ge 1 ] ; then
                    echo "i2c found on on pin 0"
                    i2cdetect -y 0
                    echo "Add the number in the from the test:"
                    read number
                    echo "ds3231 0x$number" | sudo tee /sys/class/i2c-adapter/i2c-0/new_device
                    hwclock -r
                    sed -i -e '13imodprobe i2c-bcm2708\' /etc/rc.local
                    sed -i -e '14echo ds3231 0x$number > /sys/class/i2c-adapter/i2c-0/new_device\' /etc/rc.local
                    sed -i -e '15ihwclock -s\' /etc/rc.local
                fi
                echo "cant find i2c module"
            fi
            reboot
}

install_i2c
now to complete it all
we read the time off the rtc device (its gonna be off)
hwclock -r
then we read the time of the system
date +"%d %b %Y %T"
go ahead and copy the time of the command above we are gonna use it in the next command to set time on rtc device
hwclock -w
and last but not least we verify that it has the right time
hwclock -r
And thats how you add a RTC Clock so if no net is detected you still get the right time on your Raspberry Pi.
Hopefully something like this could be automated in myosmc instead of having to do shellscripting