I did as you said, checked my SDcard with h2testw tool, SDcard passed the test, and then I reinstalled OSMC, tried installing VNC server but no luck, still getting same error.
Log file at : Log file
Oh, you have a Pi 1, that is not anymore supported by OSMC. So you would have to use the Version from November 2021 and then disable updates.
I have pi zero w, does that mean I would not be able to install VNC server or should I follow some previous post in order to install it, I followed this link posted on Jun 2015. here, but failed.
Thanks in advance.
I believe you should be fine as long as you don’t use upgrade command. But to be honest I wonder how performant this will be on a Pi Zero W which already struggle with OSMC alone without VNC.
As you told I skipped the update command, and just entered the command for preparing OSMC mentioned in the given link, I don’t think it is going to update.
This is the command : ```
sudo apt-get install build-essential rbp-userland-dev-osmc libvncserver-dev libconfig++-dev
So did that command work or already gave you the error on the libc6?
First it started to download the package but during installation stage, it threw the error. Log file at: Log file
Ok, seems you are running into a similar issue as this
So unfortunately I believe there is no simple solution for you problem. I would suggest to use a Raspbian OS install and just add Kodi would most likely be an easier solution.
I want to ask you that if I install some 3-4 years old image of OSMC, will it work with VNC, because installing Raspbian OS is not going to be efficient for the given machine pi zero w, if the answer for previous image method is also negative, than I have to drop the idea of VNC server.
A version before buster might work but not sure about it. The issue is actually a quite small about the versions of libc6 so you might even be able to overcome that with the current version and just marking libc6 for hold in apt before you install the other packages. But I am not 100% sure how to achieve that.
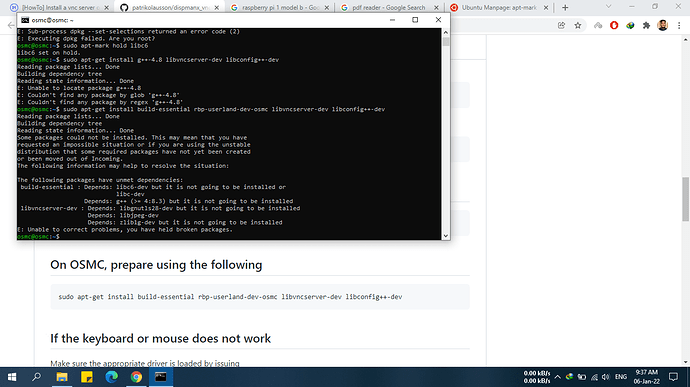
I tried setting libc6 package on hold, and then again ran the command, but failed during the initialization stage. providing the snapshot along with the logs. Log file at: Log file
You would need to do that on a fresh install
Hey All,
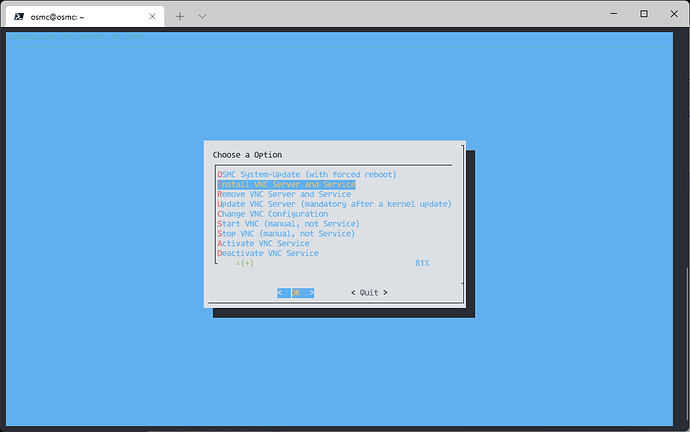
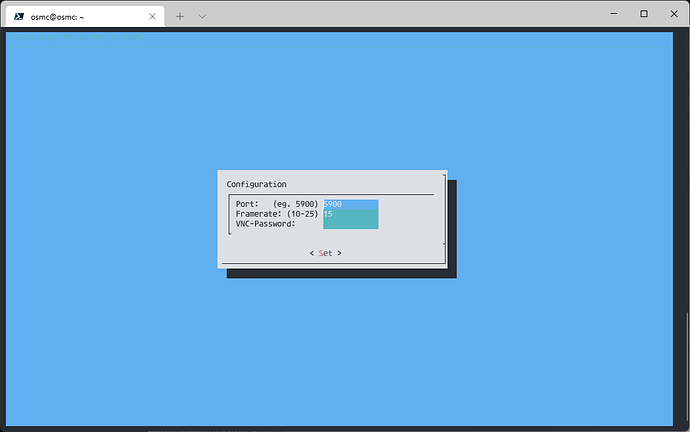
Just wanted to check, I’ve found an issue where when I install the VNC Solution using the script -
osmc_vnc_install_cli.bash .
I loose all audio on the Pi3 and Pi4 until I add the following back to the
/boot/config-user.txt
[all]
dtparam=audio=on
dtparam=i2c_vc_baudrate=50000
and then reboot. Just wanted to check I’ve not done anything wrong during the setup.
Thanks Simon ![]()

All audio? First time i am hearing this. @MarkusLange? did you ever notice anything like this?
Yup, all audio - hdmi and 3.5.
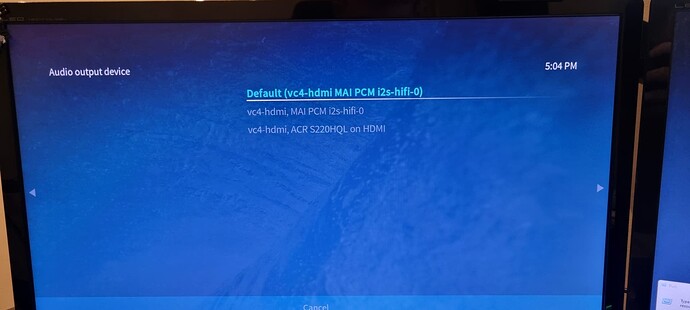
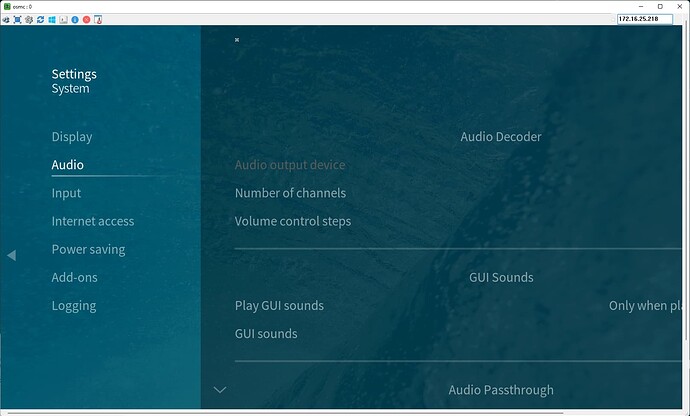
I can’t even get to the audio settings page it just hangs. Can confirm this has happened on Pi3 and Pi4 both are fixed when adding that fix into the user config file  Can do some tests tomorrow if you want logs.
Oh, thats really bad, there is only one line thats changed inside the config.txt with the skript
dtoverlay=vc4-kms-v3d,cma-512 changend to dtoverlay=vc4-fkms-v3d,cma-512
nothing else, anything else is for the installation of the vncserver.
Did your additional lines you are added exist somewhere befor the script was used?
That that I’m aware of. I’ve got a spare Pi. So can do a clean install and try get some screenshots?
Screenshots will bei fine, btw. did you upgrade from 18.9 to 19.x or did you make a fresh install?
Fresh install from the Raspberry Pi Imager
Ok, Soooo here’s the diagnostics:
// OS
osmc@osmc:~$ cat /etc/os-release
PRETTY_NAME=“Open Source Media Center”
NAME=“OSMC”
VERSION=“December 2021”
VERSION_ID=“2021.12-1”
ID=osmc
ID_LIKE=debian
ANSI_COLOR=“1;31”
HOME_URL=“https://www.osmc.tv”
SUPPORT_URL=“https://www.osmc.tv”
BUG_REPORT_URL=“https://www.osmc.tv”
// Hardware
Hardware : BCM2835
Revision : a020d3
Model : Raspberry Pi 3 Model B Plus Rev 1.3
// Default - /boot/config.txt (Clean Install)
osmc@osmc:~$ cat /boot/config.txt
# Warning: do not edit this file, or it could prevent your OSMC system from starting.
# If you wish to make changes, you should do so via My OSMC or edit the config-user.txt file in this directory

# Any changes that you make here will be overwritten as this file is managed by the OSMC via the update system

[pi4]
dtoverlay=rpivid-v4l2
arm_64bit=1
kernel=kernel.img

[all]
dtoverlay=vc4-kms-v3d,cma-512
disable_overscan=1
start_x=1
disable_splash=1
disable_fw_kms_setup=1
hdmi_ignore_cec_init=1
include config-user.txt

[pi02]
dtoverlay=vc4-kms-v3d,cma-256
// Default - /boot/config-user.txt (Empty) no file
Ok, Lets install the VNC Server using the setup script
Installation Completed, Pi Reboots. Connected via UltraVNC
having installed alsa-utils (sudo apt install alsa-utils)
osmc@osmc:~$ aplay -l
aplay: device_list:272: no soundcards found…
checking /boot/config.yxy
osmc@osmc:~$ cat /boot/config.txt
# Warning: do not edit this file, or it could prevent your OSMC system from starting.
# If you wish to make changes, you should do so via My OSMC or edit the config-user.txt file in this directory

# Any changes that you make here will be overwritten as this file is managed by the OSMC via the update system

[pi4]
dtoverlay=rpivid-v4l2
arm_64bit=1
kernel=kernel.img

[all]
dtoverlay=vc4-fkms-v3d,cma-512
disable_overscan=1
start_x=1
disable_splash=1
disable_fw_kms_setup=1
hdmi_ignore_cec_init=1
include config-user.txt

[pi02]
dtoverlay=vc4-fkms-v3d,cma-256
Adding Fix to /boot/config-user.txt
osmc@osmc:~$ cat /boot/config-user.txt
[all]
dtparam=audio=on
Reboot Pi
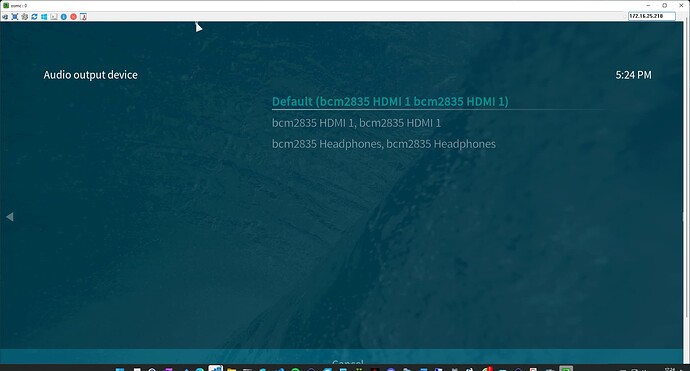
Checking with aplay -l
osmc@osmc:~$ aplay -l
**** List of PLAYBACK Hardware Devices ****
card 0: b1 [bcm2835 HDMI 1], device 0: bcm2835 HDMI 1 [bcm2835 HDMI 1]
  Subdevices: 4/4
  Subdevice #0: subdevice #0
  Subdevice #1: subdevice #1
  Subdevice #2: subdevice #2
  Subdevice #3: subdevice #3
card 1: Headphones [bcm2835 Headphones], device 0: bcm2835 Headphones [bcm2835 Headphones]
  Subdevices: 4/4
  Subdevice #0: subdevice #0
  Subdevice #1: subdevice #1
  Subdevice #2: subdevice #2
  Subdevice #3: subdevice #3
