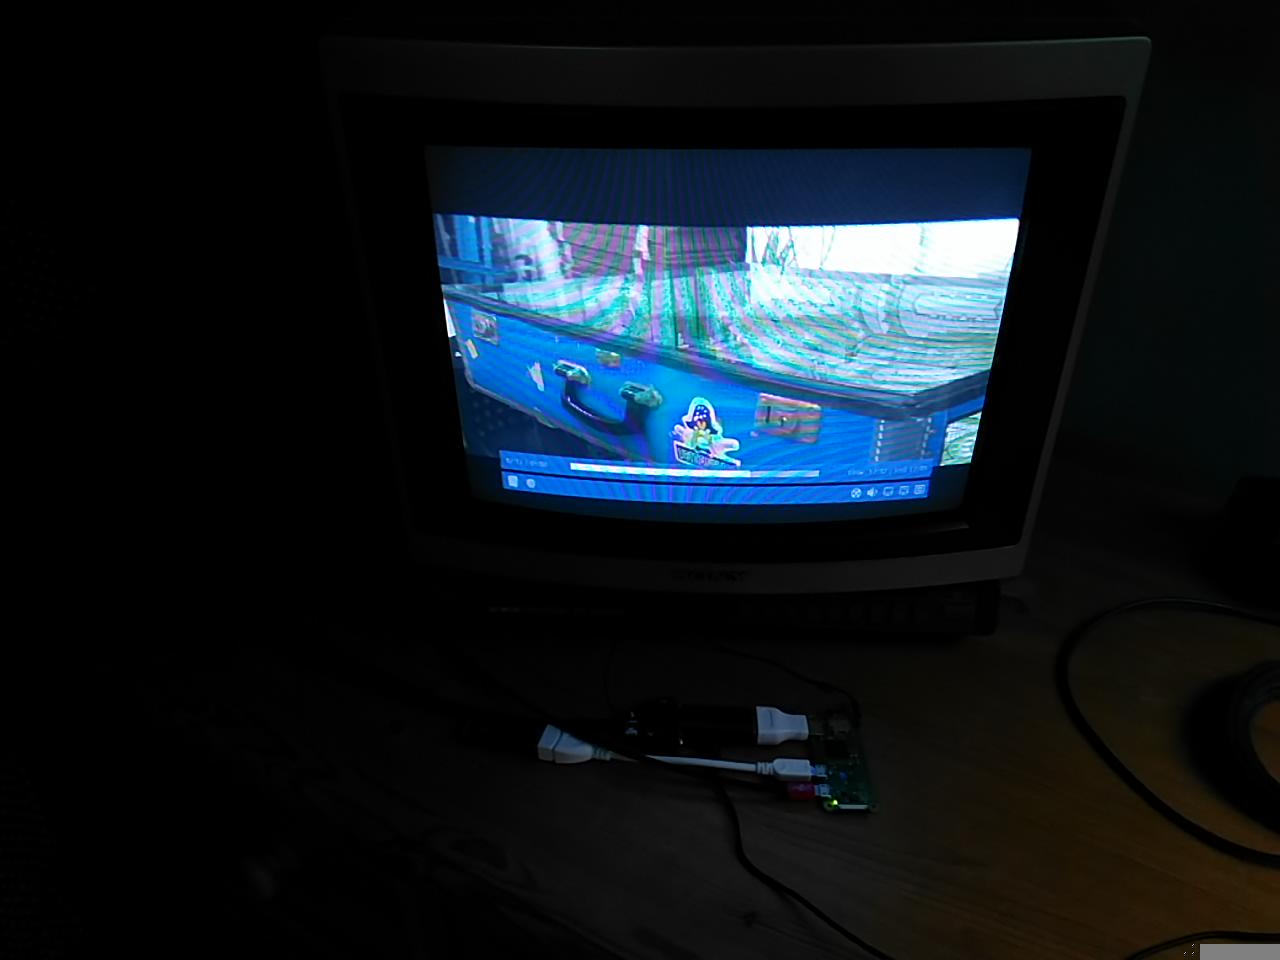
I’ve managed to get a Pi running Raspbian to output a resolution of 576i and display it through a 1980’s TV set through SCART. I used a HDMI-VGA converter plus a modified VGA-SCART cable which switches the TV SCART input to RGB and combines the H + V sync signals into a combined sync. Picture is stable and quality is good (considering the age of the TV).
You can see it here. Quite a long thread, so skip to the end to see the results.
I would like to use OSMC on this Pi and TV. Is this currently possible with OSMC? Will OSMC support the config.txt settings I used with Raspbian? Can I run Kodi on Raspbian with these settings?
Since OSMC is free, just give it a go, but it would be best if you have a Pi with ethernet to test it out as I suspect it won’t ‘just work’ and we will need some logs to help you. OSMC should perform better than Kodi on top of Raspbian.
Immediate concerns would be whether the TV can provide an EDID through that double-adapter chain and whether Kodi will believe it supports only 576i.
AFAIK OSMC does not modify the config.txt after you make the install SD (although it does have a editing utility if you wanted to modify it yourself) and there are no predefined restrictions to what you can set in it.
Thanks everyone. I agree I may have to buy a pi with ethernet, not sure wireless will have the bandwidth for streaming even SD tv or video playback. Obviously no point even trying HD material with this TV!
I can SSH into the pi in order to change config.txt, but when I did so, it did not look familiar compared to the Raspbian config.txt, so I was concerned it did not support the same settings I needed to set up the HDMI correctly. Searching the web, including this forum, the pi forum etc. did not give any hopeful results.
So you think I can simply cut & paste the specific settings I need from the Raspbian config.txt to the OSMC config.txt? I will of course take a backup copy first in case I need to restore later. If things go wrong, what log files would it be useful to see? I can SCP them back to my pc to post here.
You should be fine with wifi. The problem is, you need to set it up with the installer or else you need a display to set it up through the OSMC GUI. If it doesn’t work, you can’t troubleshoot it. Ethernet, on the other hand, should just work. If you start up OSMC with Pi attached to a more, ahem, conventional display you should be OK to get the wifi working before you move to the Sony.
The only config.txt I see in your thread is hdmi_mode = 21. If I’ve not missed something, just stick that in. IIRC there’s also a line you can put to force output to hdmi (it’s a while since I messed with this stuff).
Since I upgraded my pc to 18.04, OSMC installer I installed months ago no longer works. Visiting the OSMC download page to attempt to get an updated version, it seems the installer is no longer offered for Ubuntu, only Windows & Mac.
I used “dd” to copy the latest OSMC image to SD card. Then I was able to set up OSMC while hooked up to a VGA monitor: WiFi, passwords etc. But not hdmi settings for the TV.
There are some other parameters I will need to set in config.txt such as hdmi_group, overscan_top/bottom/left/right, hdmi_drive, hdmi_force_hotplug…
I can connect the pi up to a VGA monitor for testing, but I suspect the monitor won’t work with 576i
I would think all those config.txt options will work on a VGA monitor except setting the mode to 21. My config.txt which I think is the default OSMC config.txt has disable_overscan=1, so you will need to scotch that.
Anyway, if wifi is working, the Pi should boot connected to the TV, then you can hack config.txt and reboot.
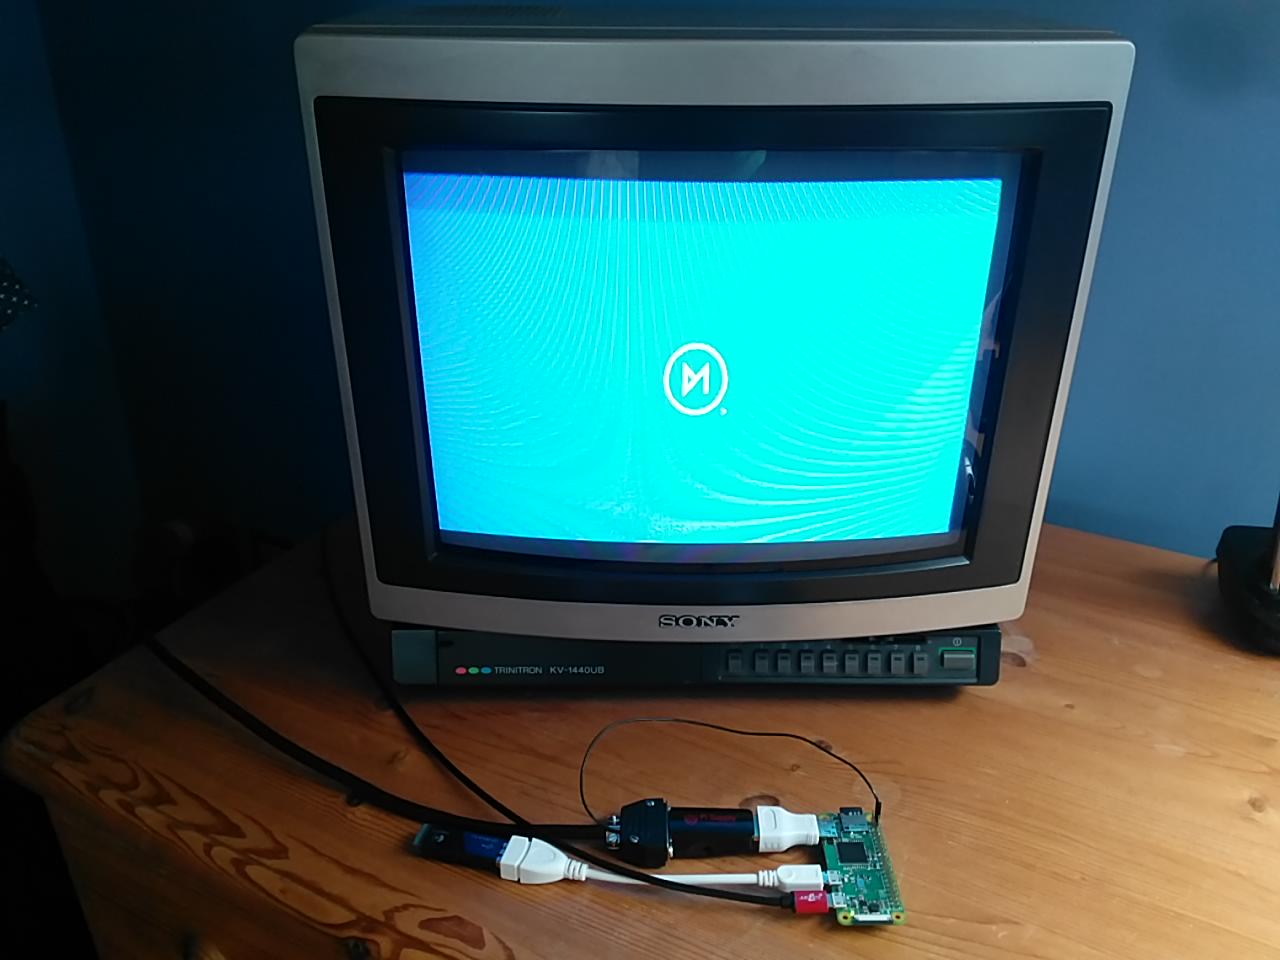
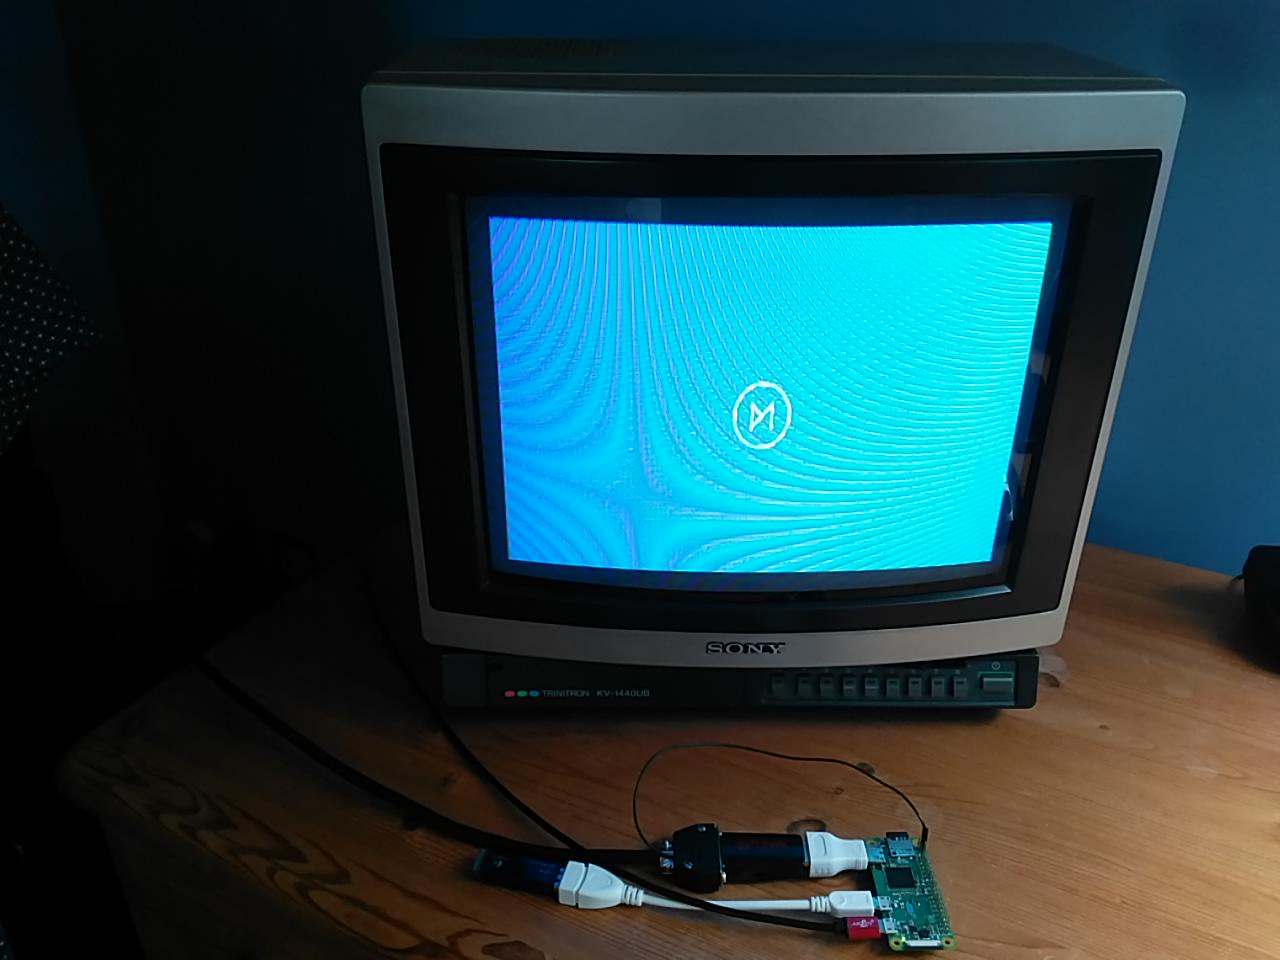
However, I am having problems adjusting the overscan. When I change overscan_left, I can see the effect on the OSMC splash screen. Here it is with overscan_left=16:
Now we see a black border on the left of the splash screen. The splash screen is quite well centered.
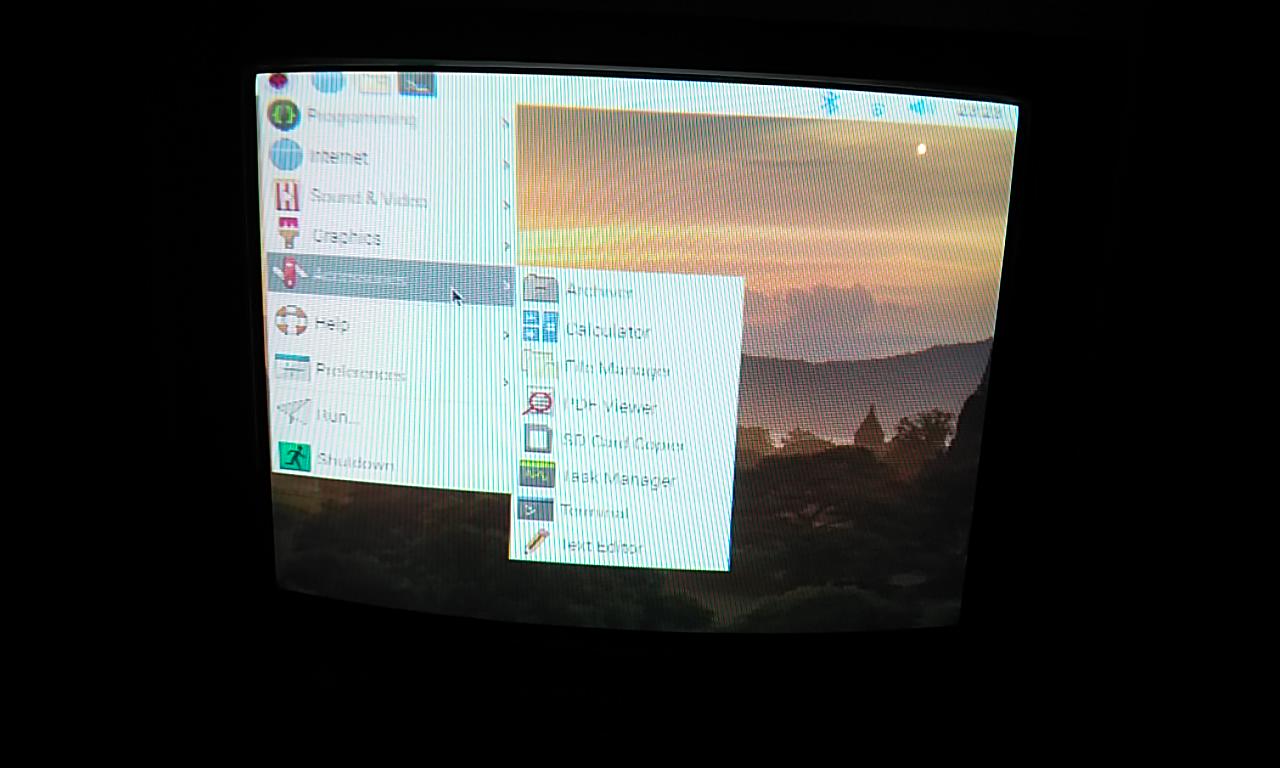
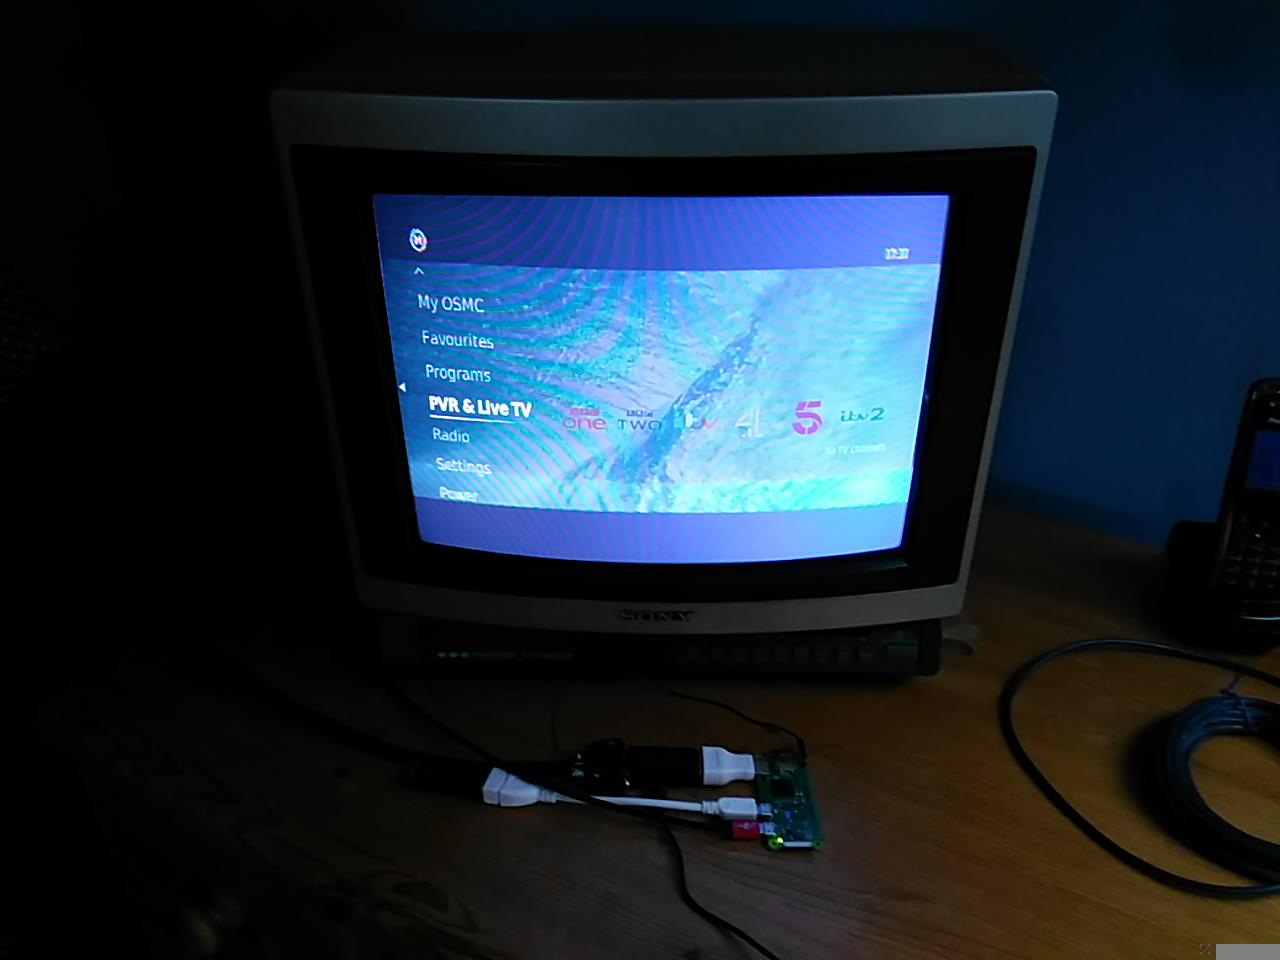
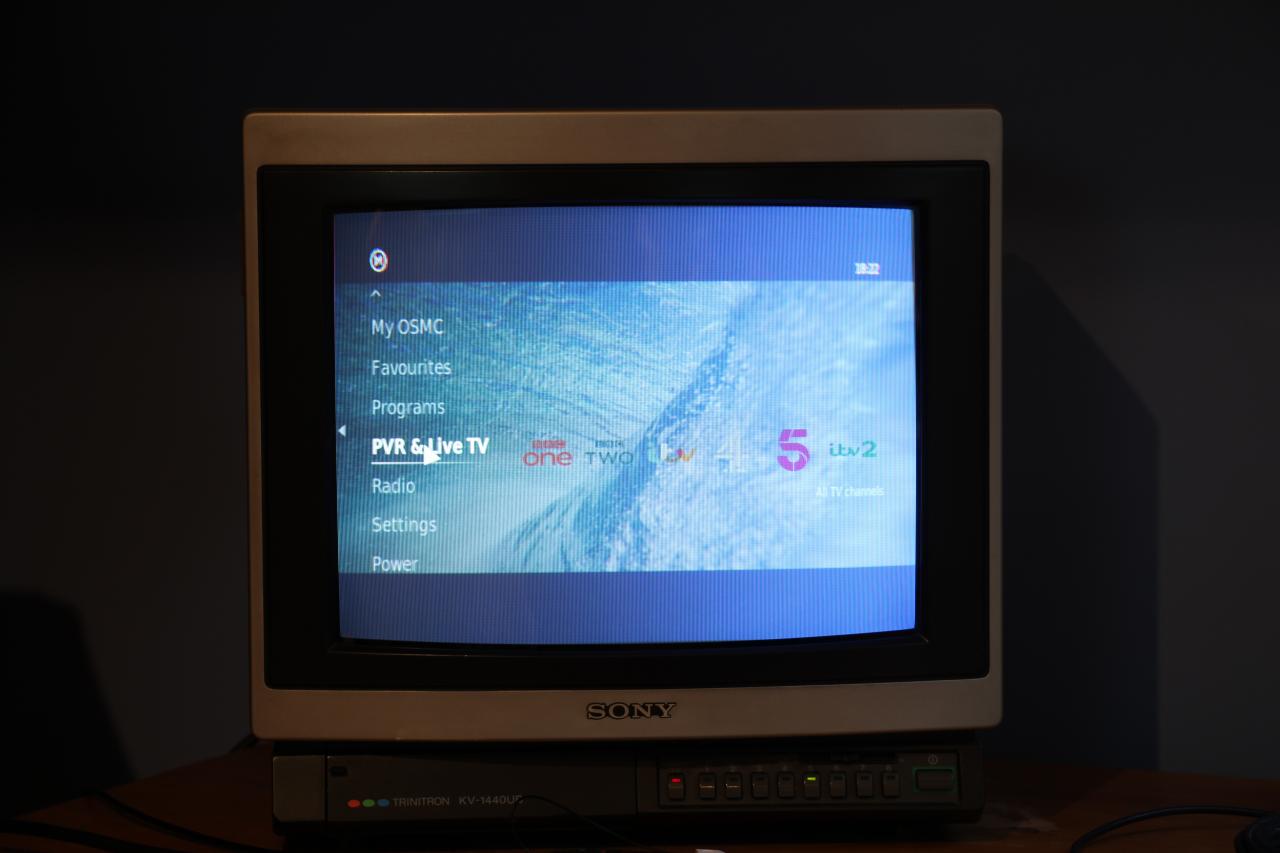
However, once the OSMC menu appears, the effect of the overscan setting seems to be ignored. With any setting, overscan_left=16, overscan_left=48, even overscan_left=100, the OSMC menu looks exactly the same, with half the OSMC logo cut off and half of the “V” in “Videos”:
When you go to settings>system you should see on the bottom left of the screen an option that probably says “basic”. Click on this a couple times until that changes to “expert”. You should then find an option at the bottom of the “display” settings screen that says “video calibration”.