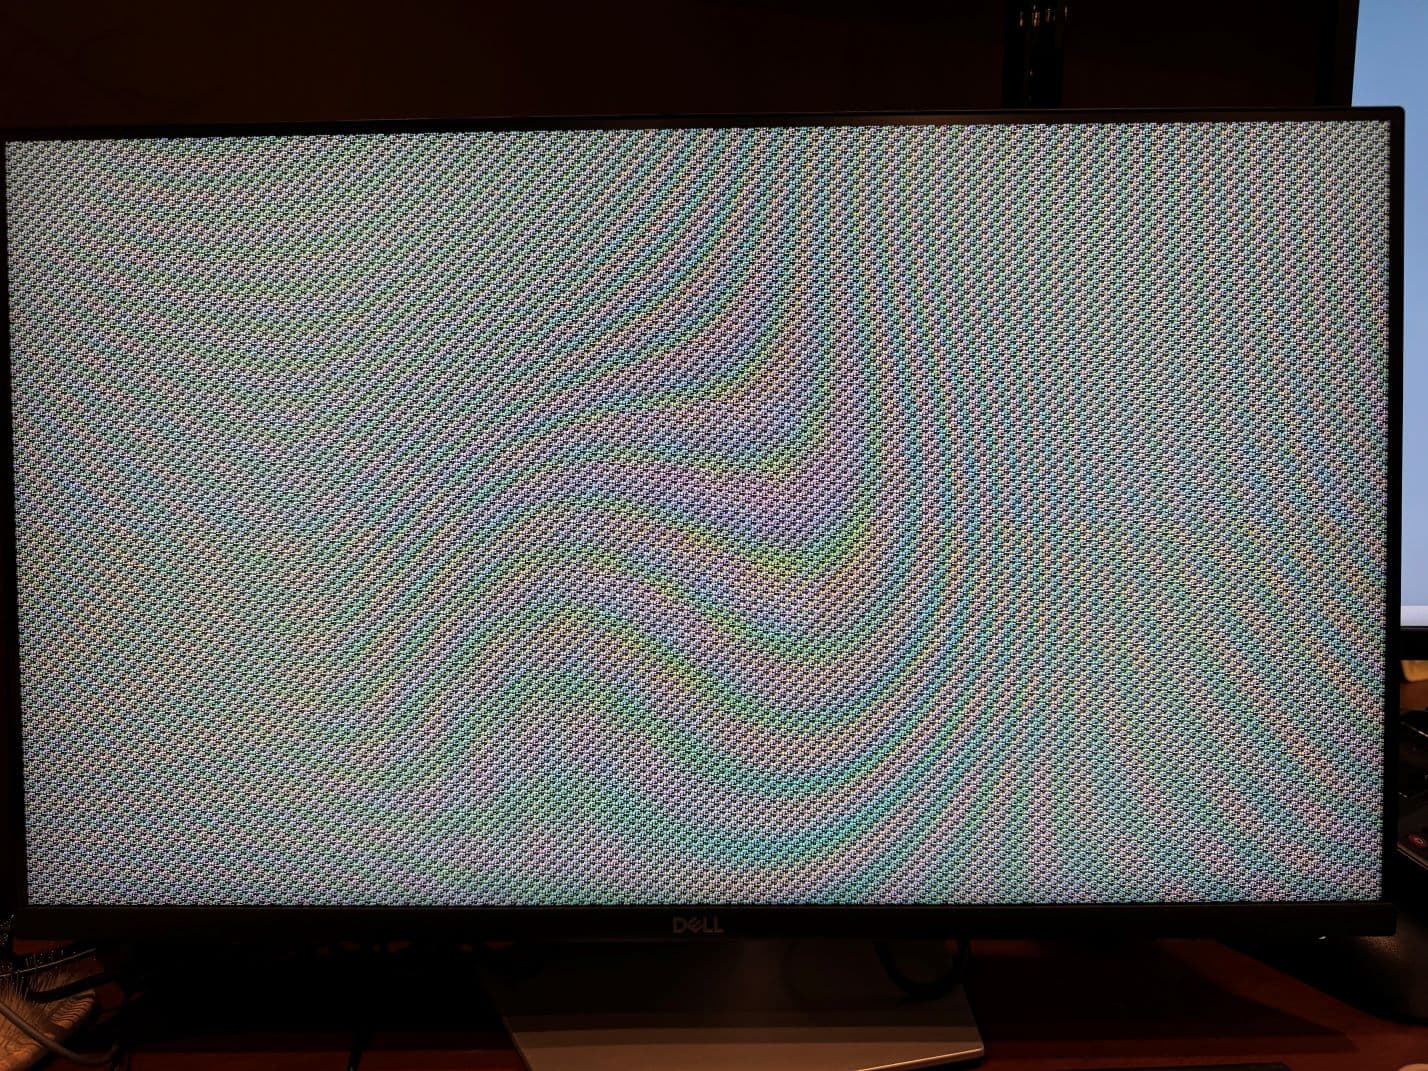
My Vero V seemed to work ok for a few days, but then it began displaying a uniform clothlike/houndstooth pattern on the display. After power cycling multiple times, it will eventually produce the osmc screen. I thought this might be caused by a corrupted OS so I attempted to reinstall osmc using an sd card with an image generated using the installer on the downloads page. The installation begins but hangs at “Installing files” at about 50% or gives the message “Install failed: Segmentation fault”. Other things I have tried:
Multiple Displays / Multiple HDMI cables (pattern still appears more often than not)
Multiple power supplies (Vero V power supply / Vero 4k power supply)
Multiple SD writers (different laptops)
I have already spent many hours trying to get this to work, any advice would be appreciated.
I have tried unsuccessfully with a USB to SD card adapter: in each USB port, with multiple SD cards and multiple image downloads. I do not have a USB stick around, but the adapter functions normally with my Windows PC.
I’d be surprised if multiple SD cards have failed.
Before you spend money on anything, let me have a think.
We should be able to image the device and perform an integrity check.
Do you have a USB-A to USB-A cable?
There is also another approach we can use for reimaging the device. You’ll need a toothpick or non conductive pin that fits in to the round CVBS slot on the back of the device.
Hi – it is indeed. If you take a non-conductive pin and put it in you should hear a soft click. Once you confirm this, I can send you some further instructions
Did @sam_nazarko not send you a pm with additional information? If you click on the hamburger menu at the top right of this site is there something showing in your inbox?
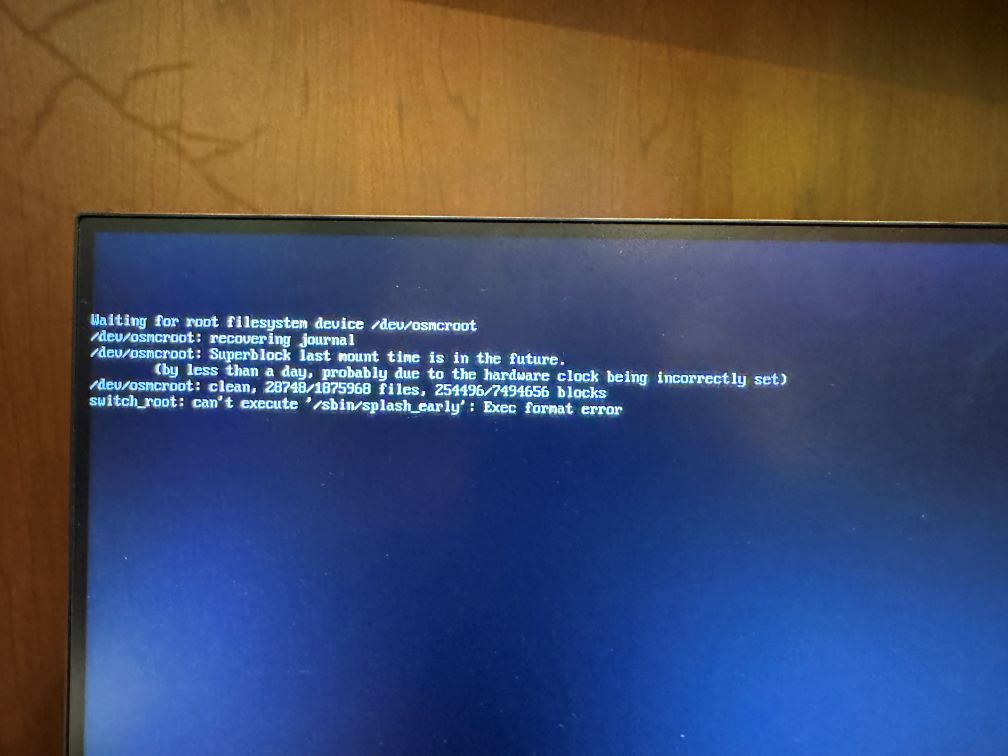
I followed the instructions in the last post. Despite numerous attempts, the blue light did not blink. I can hear and feel when I release the reset button >10s after powering up. 9 times out of 10, no text appears on the screen, just an image of a logo (S905X4 ) followed by the pattern shown in the attached image Screenshot.jpg. Occasionally several pages of text scroll quickly on the display and finish with the image in Screenshot2.jpg
It could be user error but I doubt this.
I suggest contacting sales@osmc.tv with your order #, a link to this thread and I will get this solved promptly.