Finally, I was able to get past the “install complete” black screen at 12:30 a.m. Saturday morning. After over a week and a half(at least) of changing everything except the ATV 1, I found and fixed the problem so my machine would continue to boot to the OSMC configuration page. Bottom line, the disk image “OSMC_TGT_appletv_20170210-HDD.img.gz” was the culprit of my massive frustration, but fyi, it’s the only image I checked for this error (or omission) as it’s the one I intend on using on this machine for now.
In the hope of possibly assisting anyone facing this issue this is my attempt at helping.
so first up is my download, the 02/02/2017 HDD for ATV1;
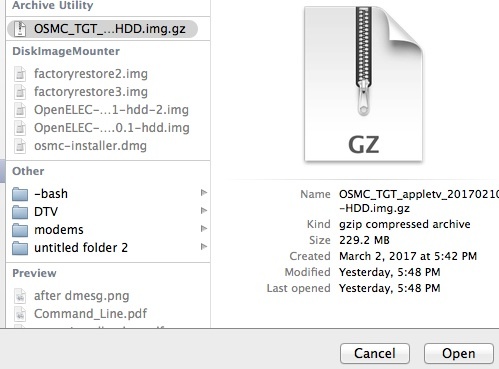
I checked it’s MD5Checksum by using both Terminal command and a MD5Checksum app from Apple Store) and all results matched. What I eventually found after massive hours of “eye bleeding” educating myself on rudimentary Terminal and scouring the Net, both here and abroad,is the /etc/X11/xorg.config file didn’t contain proper code for the install to complete using HDMI cable from ATV1 (stock firmware was set to 3.0.2 and HDMI resolution set to High) to TV.
after install hangs DO NOT TOUCH ATV1 as you already have the ethernet cable plugged in. I do simple, so on another computer on your network, log in to your router by entering your router’s IP address in URL address bar (if you have combo modem/router or separate modem and router use router IP address. Just look on(or under)unit and you’ll find IP address as well as ID and password. If you can’t find it just “google” your make and model as most manufacturers only use a couple of simple combos. After inputing number string into your browser hit return and your screen will display something similar to this;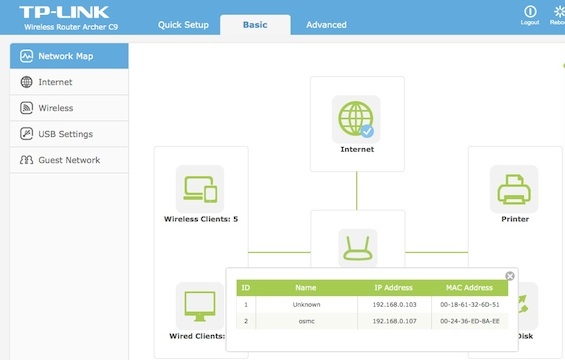 Then look at wired devices for ATV1’s IP address. Now log into terminal. Just follow my example substituting your info in place of mine. Password for OSMC is osmc, otherwise password in Terminal is your system administrator password. Then enter ssh osmc@(your ATV1’s IP address form router) and hit return.
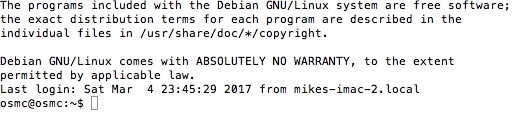
you will then be asked for the osmc password if all went well so far.
![]()
now we are into to the ATV1
ATTENTION! this is where we can really screw the pooch if we ain’t careful - not difficult - just pay the f@#K attention to what you’re typing.
so next line I enter is sudo nano /etc/X11/xorg.conf and hit return.
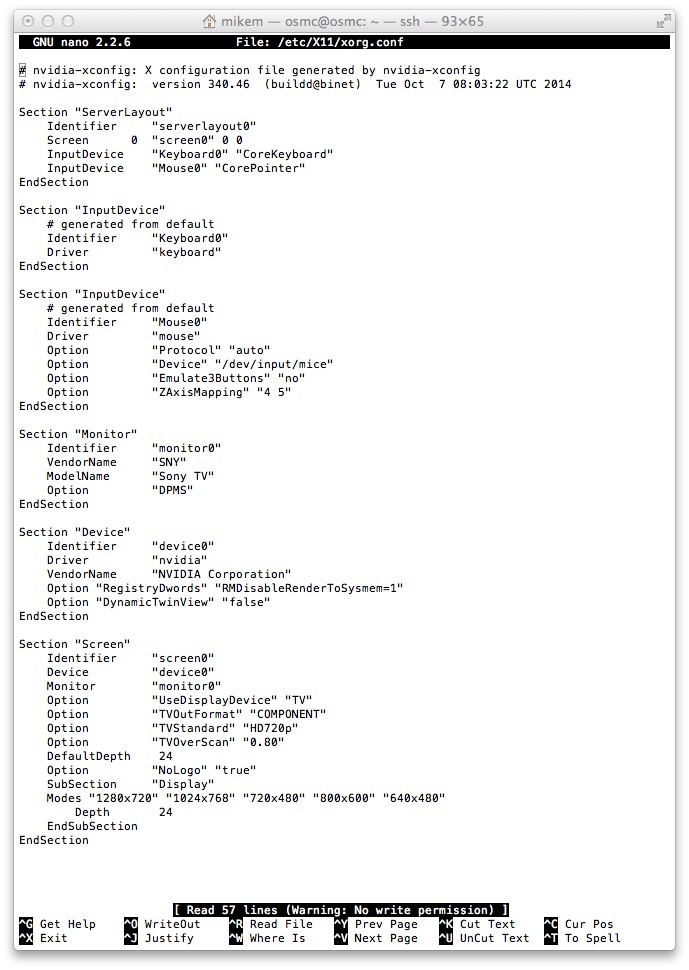
[sudo is for god-like editing authority, nano is a text editor, then file name]This line should produce the following info if your problem is the same issue I was dealing with;
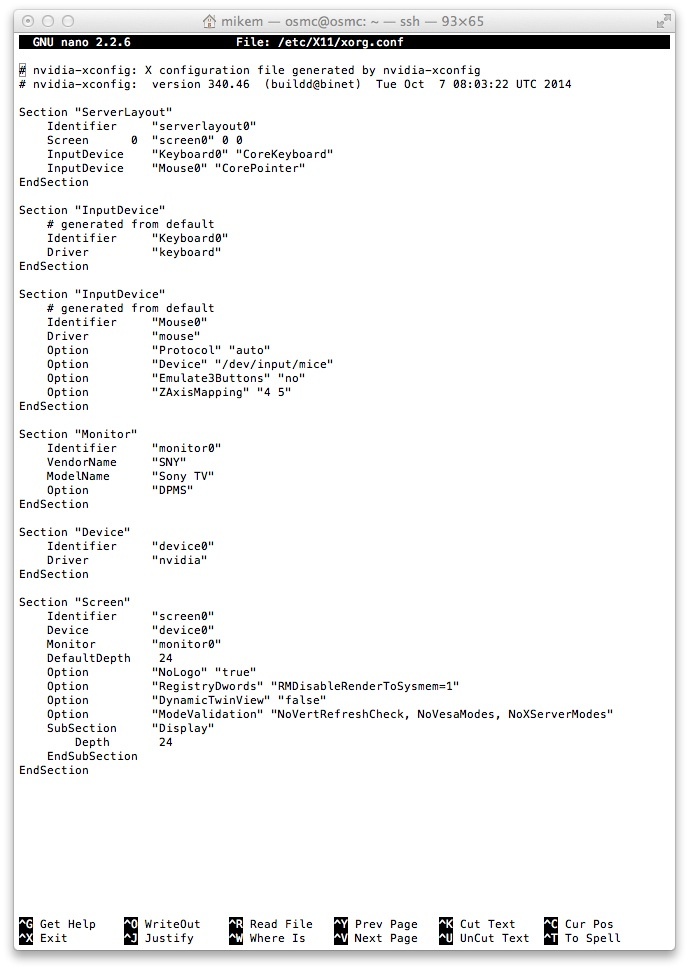
notice the section “Device” and “Screen” and match them up to Configuring component output. I ignored the “TVOutFormat” “COMPONENT” as I’m using HDMI and don’t know enough whether it makes a difference or not. The next shot shows the changes when completed look like.
Now when you finish editing the file hit control X, in the tiny ass bar you’ll be asked if you want to keep the changes, Y for yes, or N for no. then hit return. when you get the prompt
osmc@osmc:~$ enter sudo reboot and then return.
if you don’t do this last step no changes will be recorded and you’re back where you started.
now your black screen should start to flicker a bit while the ATV1 receives it’s amended info and will on it’s own, commence to finish the installation WITHOUT YOU TOUCHING ANYTHING and finally the TV will display the OSMC welcome screen! Now simple configure your OSMC setup and enjoy.
my intent here was to help fellow travelers get to the this point and this point only if possible.
I have no doubt there are probably easier, softer routes to get here, this just happens to be the one I took.
Once I got to this point and got OSMC operational, I deleted everything and repeated the whole process several times over to commit it to memory.
my kids say I’m OCD (whatever the hell that is), I’m more like a pit bull when I can’t get something to work, I just can’t let go.
And to Sam, I have know doubt I could of badgered the hell out you to get to this point, but than what would I have learned?
From my experience here working on getting my install to complete I gotta ask, how do you keep your head from exploding?!?!
Sam, I want to thank you (and the other elves)for the hard work and dedication you’ve committed to this endeavor.
THANK YOU!
*not responsible for any errors, omissions, or hurt feelings