retrosmc alpha 0.001
I got something for the brave who want to test it:
First things first: I am NOT responsible if this does any harm to your system!
I suggest only to install this on a system that the old installer wasn’t run on already.
You should have at least 300 MB of free space on your sdcard.
SSH into your osmc installation.
Download the following file to your osmc home directory:
wget https://raw.githubusercontent.com/mcobit/retrosmc/master/install-retrosmc.sh
Make it executable by running:
chmod +x install-retrosmc.sh
Then run it:
./install-retrosmc.sh
You will see a pretty selfexplanatory menu.
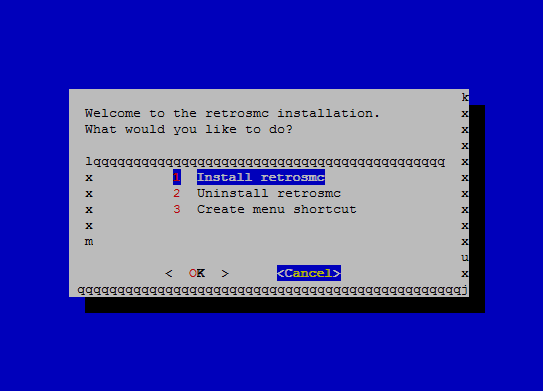
Choose what you want to do and wait for a while.
You can exit the menu by choosing Cancel at the bottom after every task.
Note, that this is a first release and it is there to find bugs! So please report them and don’t expect everything to work.
Right now there are some things to know:
- This is NOT a full RetroPie installation, so don’t expect all scripts and files to be present
- Right now, only retroarch emulators will work, the others are deactivated, but I will try to add them when I find the time
- This does not change your system or download packages from dubious sources, all files needed are distributed by the package
- This has an uninstallation option in the menu. It will remove the whole package if you don’t want to have it anymore, but it will also remove any ROMS, BIOS, savefiles or configurationfiles you may have added or altered. So please make a backup of those if you want to use them later!
- This will only work on a PI 2. Not on any other model and not on the Vero
Have fun!
Bugs found:
- Because of a problem with the emulationstationscript, there could be no sound
-
Will be fixed in next version. As a workaround, type
sudo modprobe snd_bcm2835
at a commandline.
(needs to be done once after every reboot)
-