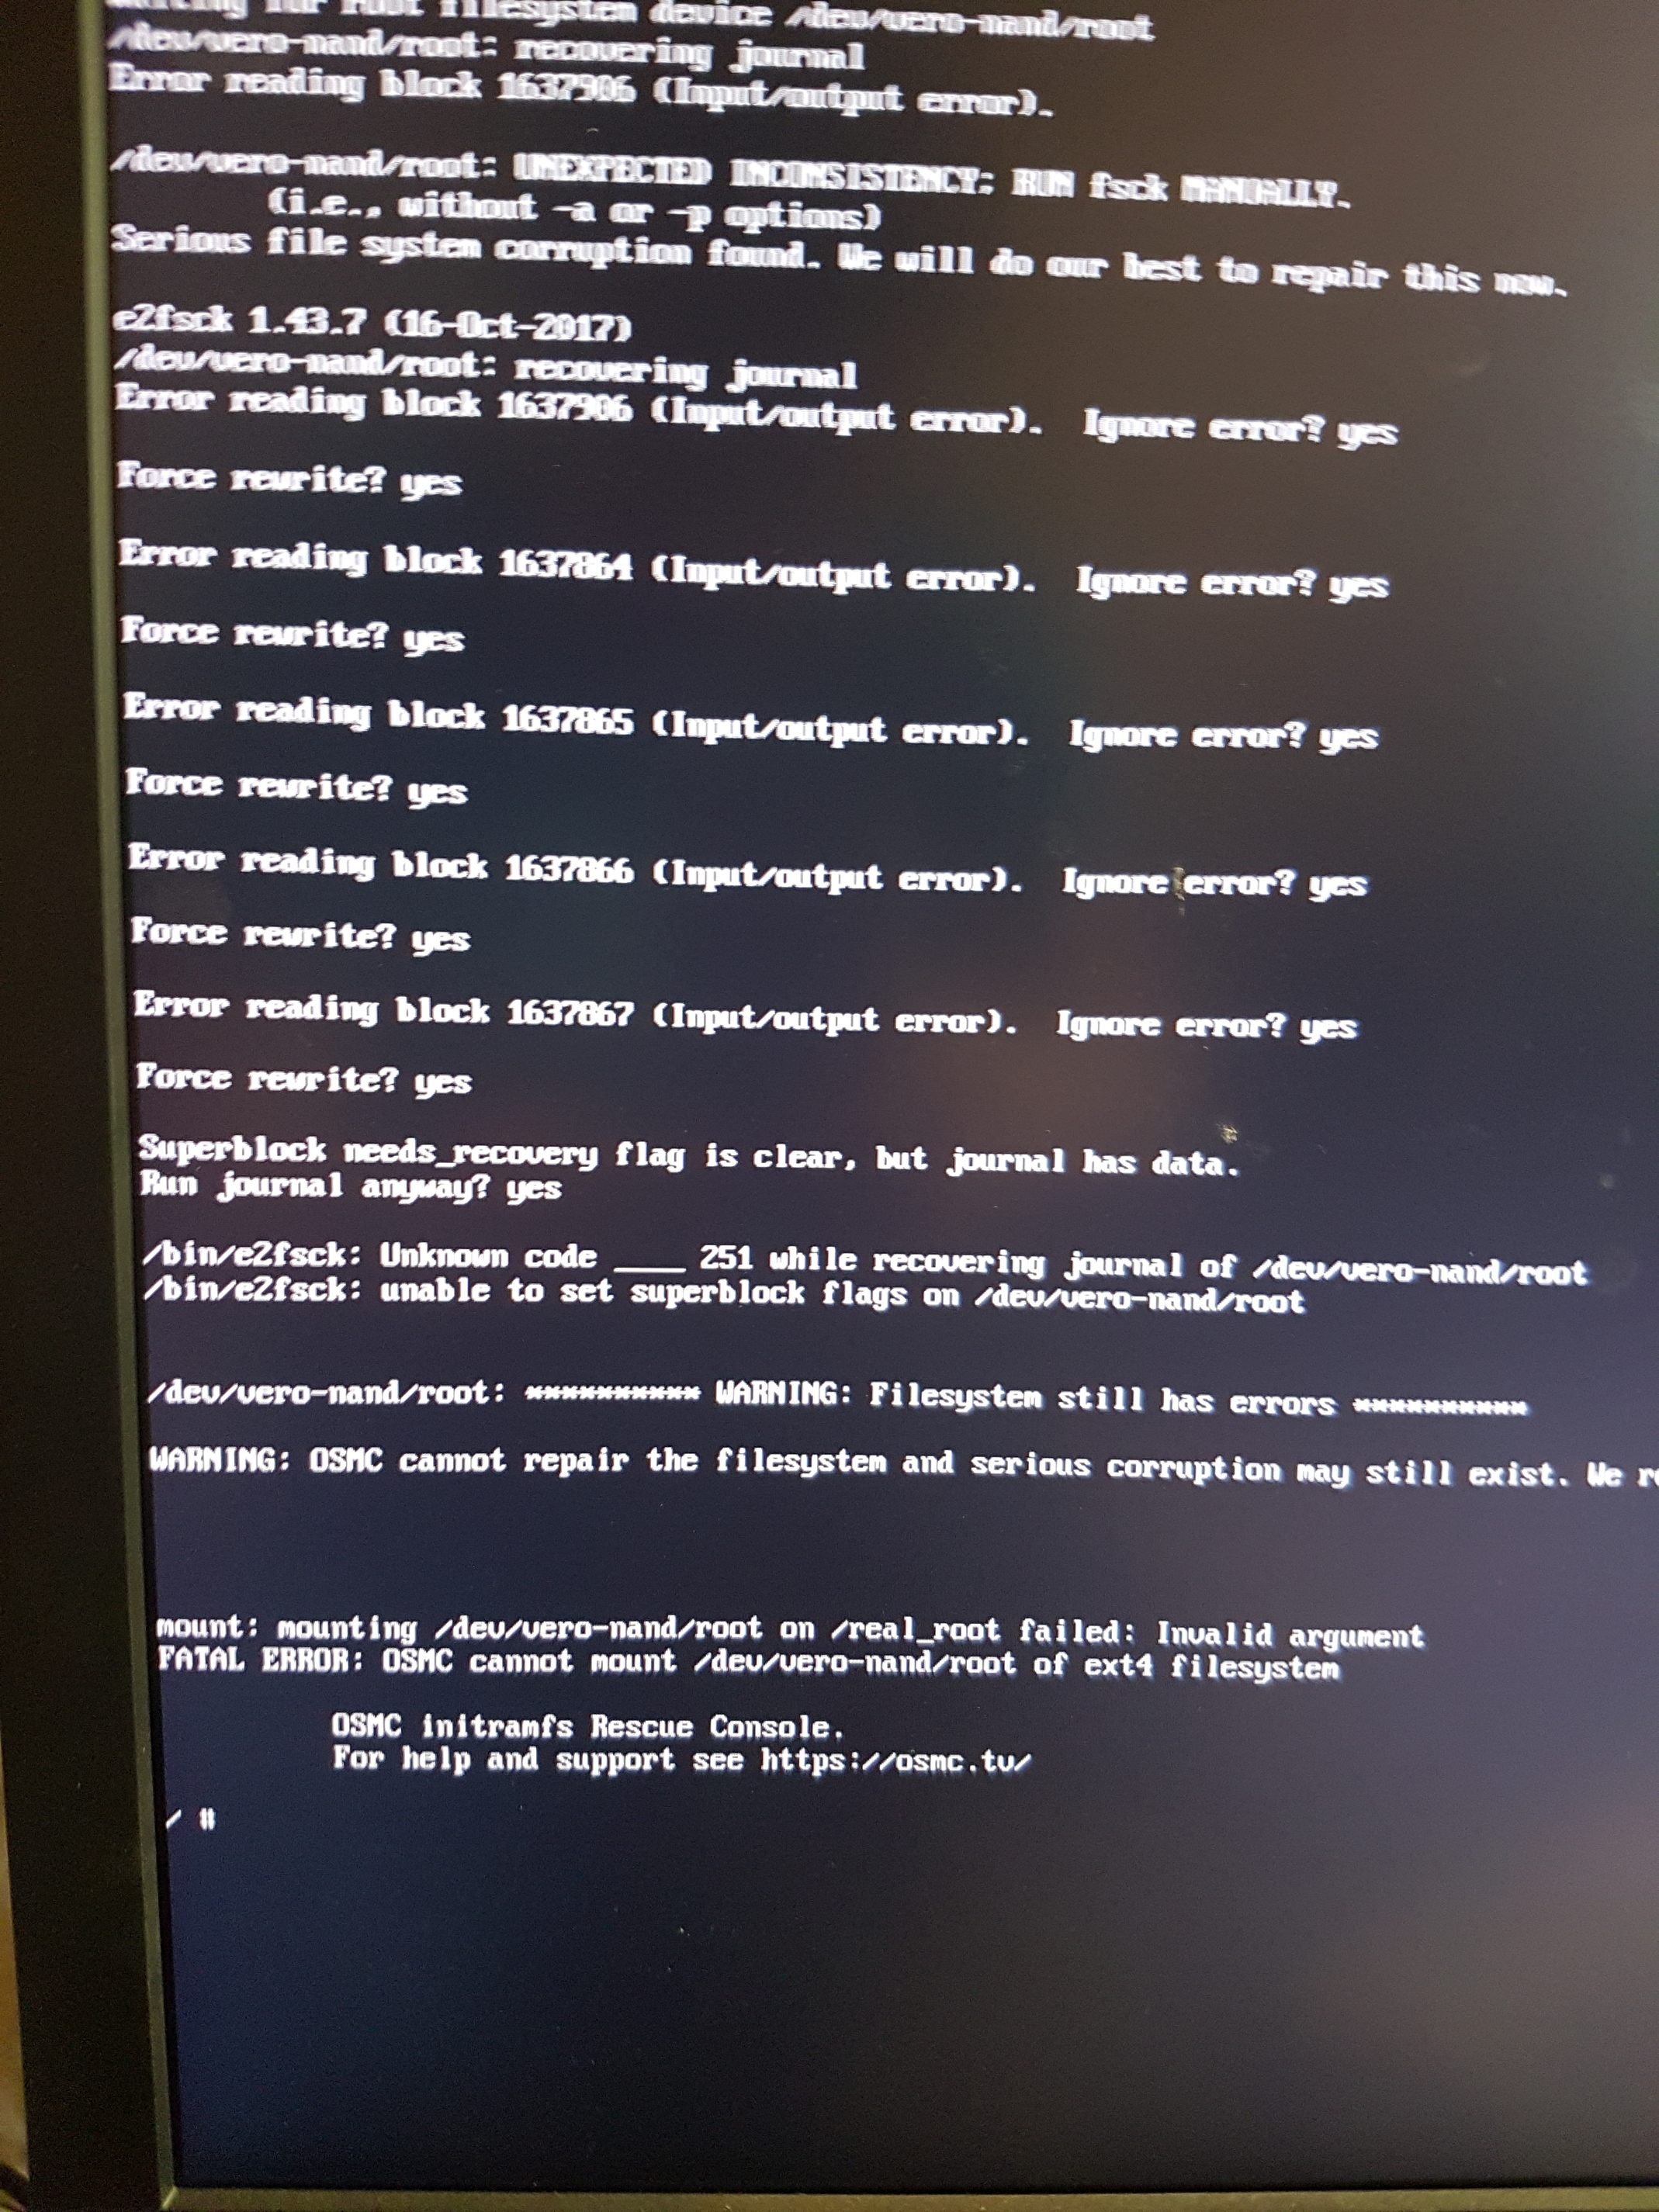
The box was working fine but switched to read-only mode at one point. After a reboot it fails to start because of unreadable sectors when trying to read the /dev/vero-nand/root journal.
I have tried booting other images on the device but they don’t work. I can manually plug in a USB stick and mount it with tools but I cannot run them because of the limitations of the busybox shell.
This makes it very difficult to format/badblock check the device.
It appears as if it is a LVM device and the volume group is vero-nand. I see 3 mmc devices in /dev
mmcblk0boot0
mmcblk0boot1
mmcblk0rpblk1
I have no idea which of this is the raw device for the LVM but at this stage I just want to reformat it with badblock check and see how much longer it lasts.
The rescue shell has no useful tools in it at all. No dd no fdisk no mkfs.* So I am kinda shafted unless I can convince the vero to boot into another more complete images.
EDIT:
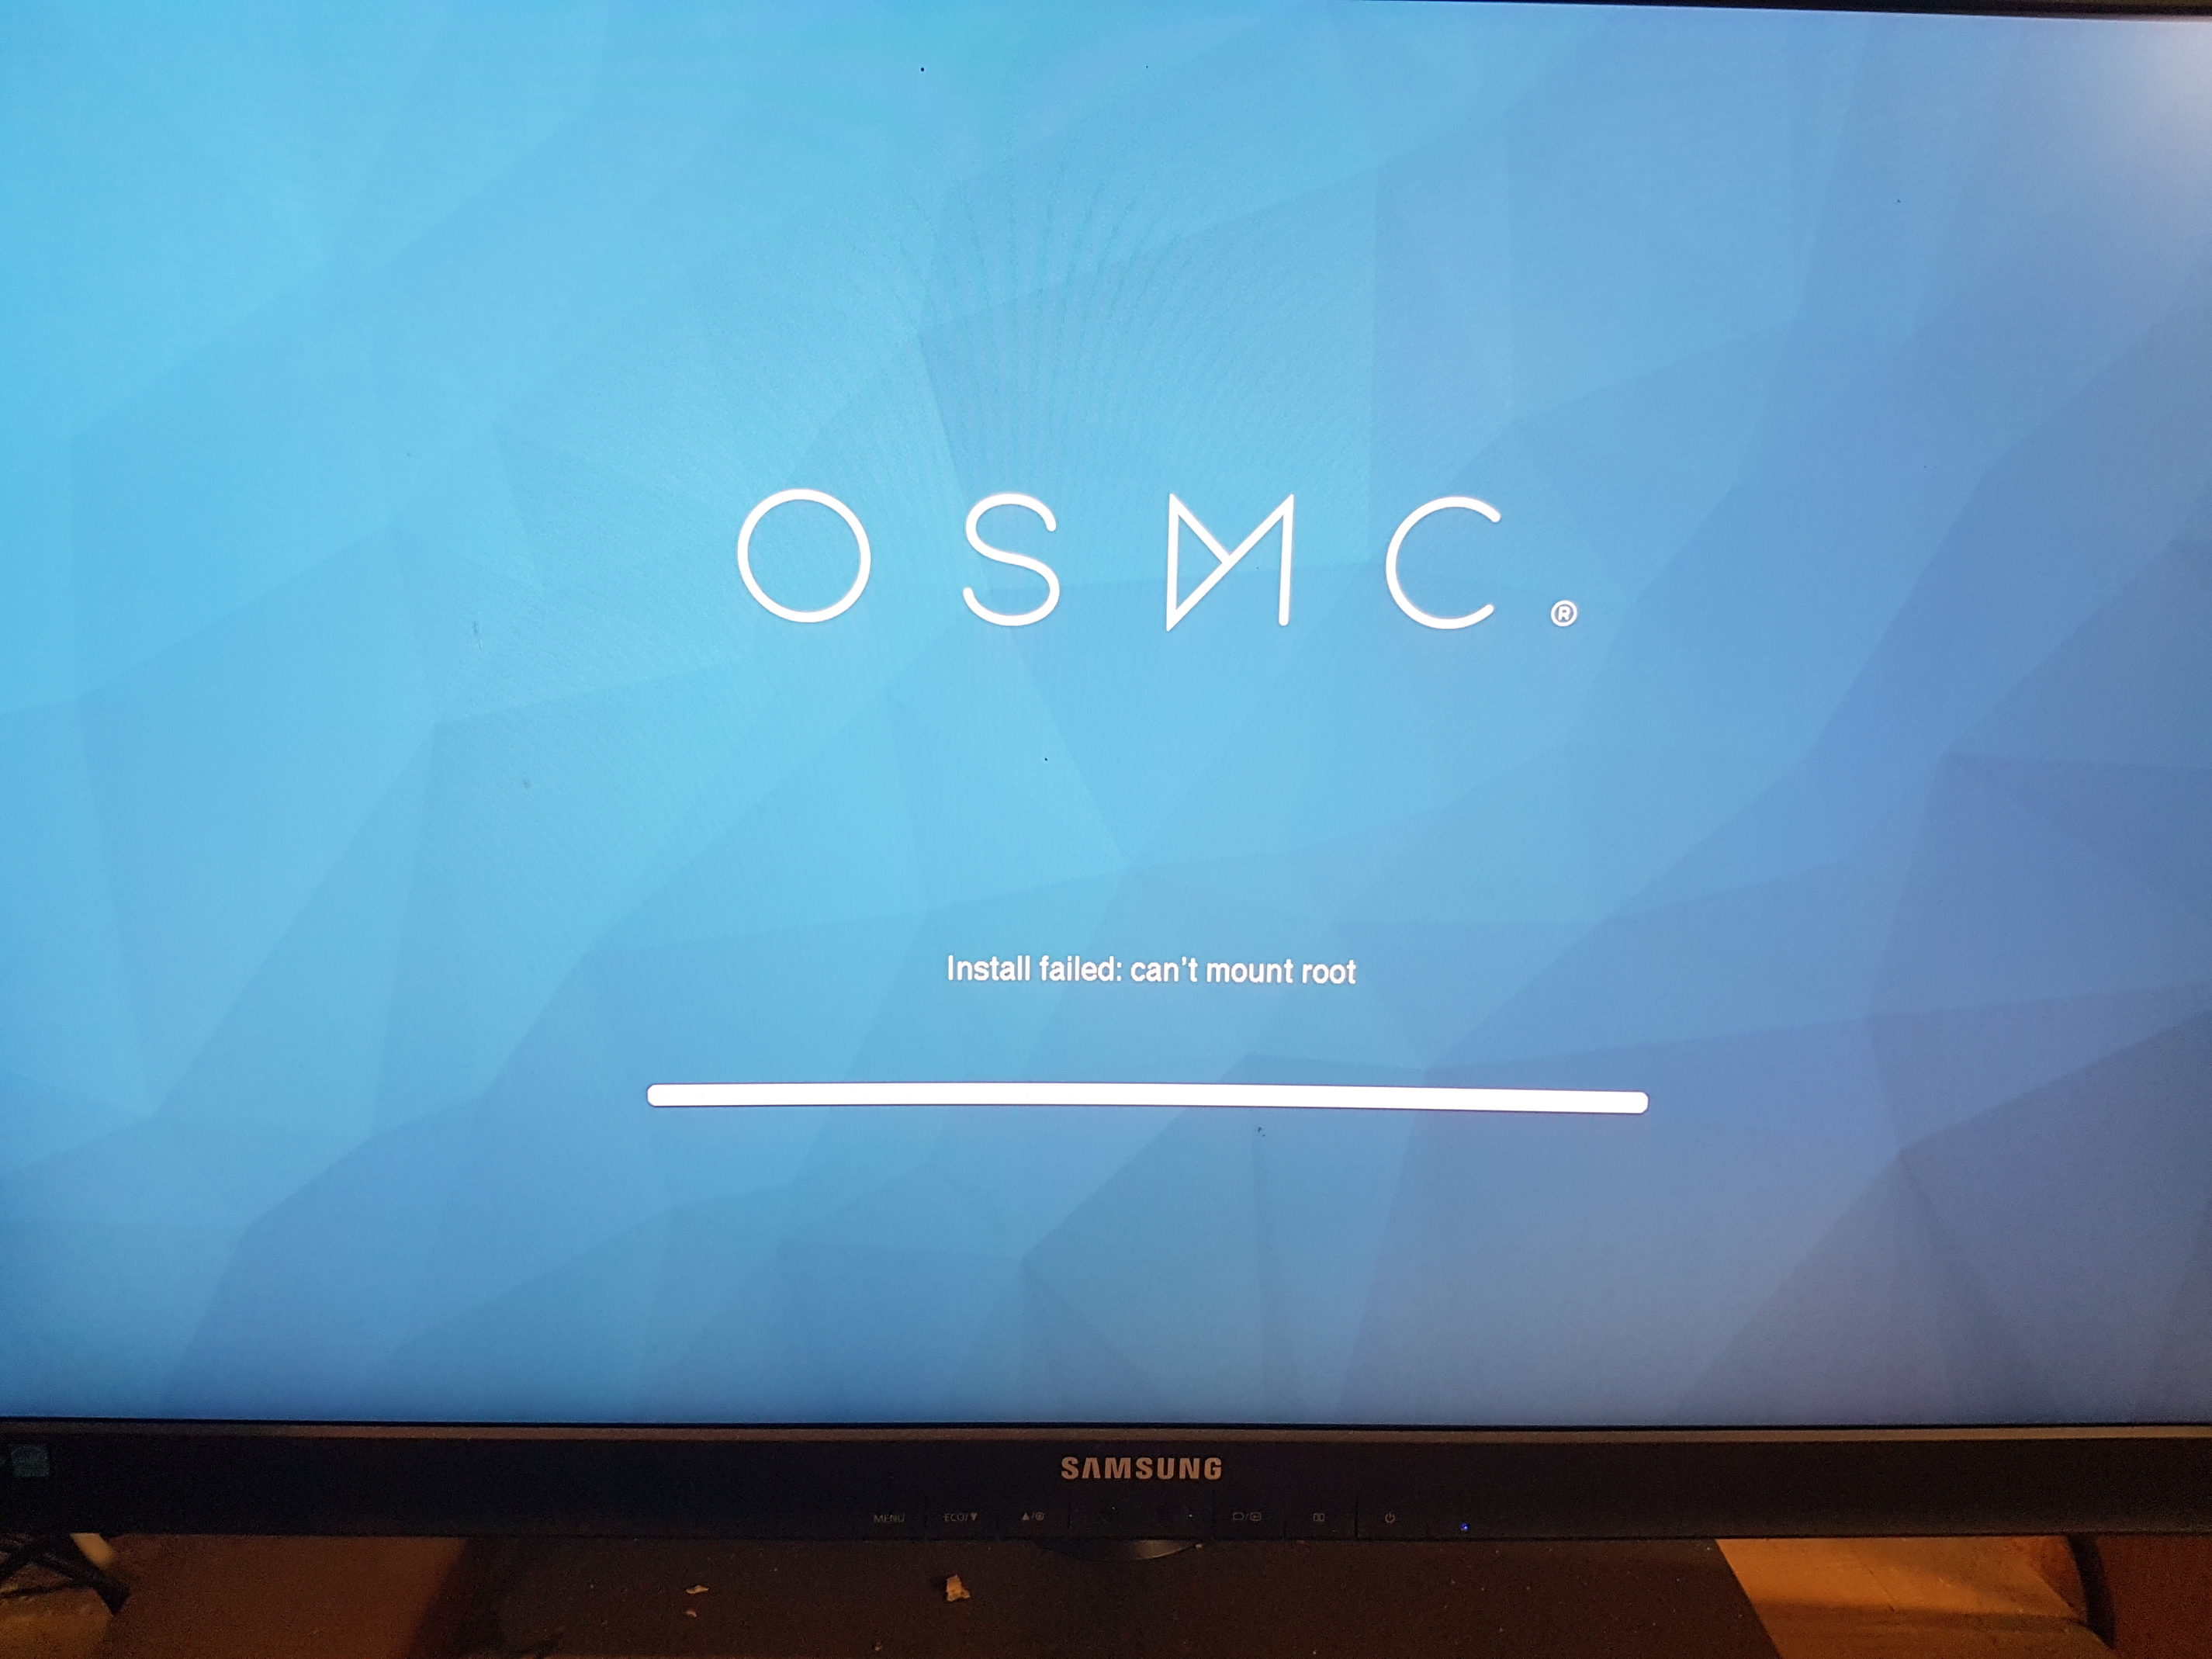
Oh FTR. This is the install log from trying to boot off the USB
Thu Jan 1 00:00:24 2015 Starting OSMC installer
Thu Jan 1 00:00:27 2015 Detecting device we are running on
Thu Jan 1 00:00:27 2015 Mounting boot filesystem
Thu Jan 1 00:00:27 2015 Trying to mount to MNT_BOOT (/mnt/boot)
Thu Jan 1 00:00:27 2015 Using device->boot: /dev/mmcblk1p1 and FS: fat32
Thu Jan 1 00:00:27 2015 Trying to mount to MNT_BOOT (/mnt/boot)
Thu Jan 1 00:00:27 2015 Using device->boot: /dev/sda1 and FS: fat32
Thu Jan 1 00:00:27 2015 No preseed file was found
Thu Jan 1 00:00:27 2015 Flash looks OK
Thu Jan 1 00:01:33 2015 Creating root partition
Thu Jan 1 00:01:33 2015 Calling fmtpart for partition /dev/vero-nand/root and fstype ext4
Thu Jan 1 00:01:33 2015
Thu Jan 1 00:01:33 2015 From a root partition of /dev/vero-nand/root, I have deduced a base device of /dev/vero-nand/roo
Thu Jan 1 00:01:33 2015 Mounting root
Thu Jan 1 00:01:33 2015 Trying to mount to MNT_ROOT (/mnt/root)
Thu Jan 1 00:01:33 2015 Using device->root: /dev/vero-nand/root
Thu Jan 1 00:01:33 2015 Error occured trying to mount root of /dev/vero-nand/root
Thu Jan 1 00:01:33 2015 Halting Install. Error message was: can’t mount root
I believe you raised a support ticket so I replied there first. The internal storage is eMMC so should be quite robust. It should remain stable for many years; but a power loss can sometimes cause issues that require a reinstallation.
How did you determine that?
Do not do this. If you erase these partitions you will likely permanently brick your device.
You should only let the OSMC imaging tool do the formatting where possible.
If the installer can’t partition your device, it’s important to know if you made any changes / manually altered partitions. We expect a specific structure, and running mkfs / dd’ing can cause bad consequences:
I can help you get a netcat shell up (there is an emergency mode), but let me get back to you in an hour when I’m free and I can probably think of a better solution.
It switched to read-only mode sometime just before updates. Updates failed and when I went to ssh in and run apt dist-upgrade I saw it was read-only.
Rebooting shows that the journal cannot be read and so the mount fails. It times out with unreadable sectors then drop into a restricted busybox shell.
I am trying to break out of that shell so I can run binaries copied from the root image which I can mount with -o ro, noload
Trouble comes with getting the tools to either reformat it with badblock check enough so the installer will use it or blowing it away completely and start fresh.
Trouble is it takes about 10 mins to go through each failed boot into the busybox shell so my patience is kinda wearing thin atm.
Basically I need way to either run tune2fs or mkfs.ext4 so I can nuke the journal and start fresh. Preferably with badblock check as I format it. The stupid thing about this vero fsck is that it does not come with badblock and so if you run it with the -c flag it does nothing, which means when there are bad blocks in the journal , like now, it is impossible to fix because the journal blocks cannot be relocated
Okay: you can try reinstalling using the installer. If that doesn’t work, then there might be a bug in the installer. Have you tried this?
Otherwise, I can build you an image of the installer that will let you access the installation environment via netcat. I.e. you’d do:
nc -lvp 9999
and wait for a connection when booting Vero 4K from a USB / SD.
If you let me know if the IP of your device that would receive the connection, I can build an image for you, but I’m still not sure why you’re doing this instead of reinstalling fresh. Are you trying to recover data?
I have tried re-installing you saw the log at the time. Fails to mount root and barfs.
What will having netcat do for me? If I still cannot run any actual binaries because I am stuck in busy box then not really very helpful.
Ideally I would like to be able to boot some sort of live image off a USB where I can go around reformatting the devices or running badblocks or whatever. But I have had a look at the git source code and not really sure that is feasible. Sure maybe I can add extra packages but aside from that does not really change the installed into a live environment.
It will give you all of the tools that the OSMC installer has.
You should be able to work with the system to put things in a good state. I can give you the commands that the installer uses to partition the device and we should be able to get this back up for you quite promptly.
But it sounds we’ve hit an interesting bug here. Before formatting each LVM partition, we erase 1MB of the underlying partition.
dd if=/dev/zero of=... bs=1M count=1 conv=fsync
Let me know the IP of the device you would be connecting from and I’ll build an image. I’ve made a note to make this an environment variable in the future.
Well I will be connecting from 192.168.0.148 the box’s IP used to be 192.168.0.145 not that I saw it come up on the network during the installer (yeah I checked)
If you mean I have the filesystem.tar.xz availiable then yeah that will be enough because there are real tools on there , bash included. I will start with tune2fs and see if I can remove the journal and then fsck with badblocks and see if it helps. hopefully once the badblocks list is updated then I can put the journal back and have it working as intended.
It is just sods law that the unreadable sectors happen to be in the journal because the journal is in the same place on the filesytem each time. Which means you cannot shuffle it around unless the fs knows what badblocks to avoid…
Well send me the img and I will try it. At this stage very little I can do without rolling my own
The OSMC installer can be debugged via UART (not trivial on Vero 4K) or over IP if debug_ip parameter is set on /proc/cmdline. This requires a rebuild at this time because there is no cmdline.txt. I can use the eMMC environment in future to make this easier to adjust.
On another machine, run nc -lvp 9999.
Boot the Vero 4K and you should see an incoming connection.
This is what the installer does to create a filesystem. The output of these commands would be useful.
If that works, you can kick off a proper reinstallation by rebooting and running
/usr/bin/qt_target_installer -qws
What I’d like to find out is:
Why didn’t mkfs.ext4 work?
Can we make any changes so that other users (who will likely not be as capable) get caught in a similar situation?
I suspect you may tar the filesystem.tar.xz straight on to the freshly formatted volume after mounting. If you do that, you need to ensure the kernel and bootloader are synchronised. These are stored on difference parts of the eMMC:
I dont’ think the installer got so far as using mkfs.ext4. From the log above it runs something called fmtpart which I assume is a script wrapper around it.
The only thing I can think of that might cause that , and this is very bad news if it is true, is that the flashmemory might have gone into a self inflicted Read-only mode where it appears you are able to write stuff but it just fails silently. I have had this happen to me on so many microsd cards now it is depressing in all sorts of devices. That would explain why I could not zero the journal and why no fsck work.
As to what could be done to improve it? Some better error checking I think or better yet just switch to f2fs which is much more robust when it comes to flash memory.
I’ll try the image and let you know what the result is.
fmtpart calls mkfs.ext4 as outlined above. So if you run the command, it would be good to see the output so we know why it’s failing.
I doubt this is the case. The internal memory is eMMC, not NAND. dmesg will show serious problems if there are issues writing to the internal storage.
I had in mind some changes to mkfs.ext4 or the dd process to ensure we remove any potentially problematic remnants.
I’m not yet convinced about F2FS. We used to run it with Raspbmc as the default filesystem for a period of time. Initial performance was great but a lack of userspace tools and a cooldown period seemed to show that it wasn’t anything particularly better than ext4.
I’m not yet convinced about F2FS. We used to run it with Raspbmc as the default filesystem for a period of time. Initial performance was great but a lack of userspace tools and a cooldown period seemed to show that it wasn’t anything particularly better than ext4.
Fairy nuff. I switched to it on my phone and thus far been quite happy with it. But each to there own
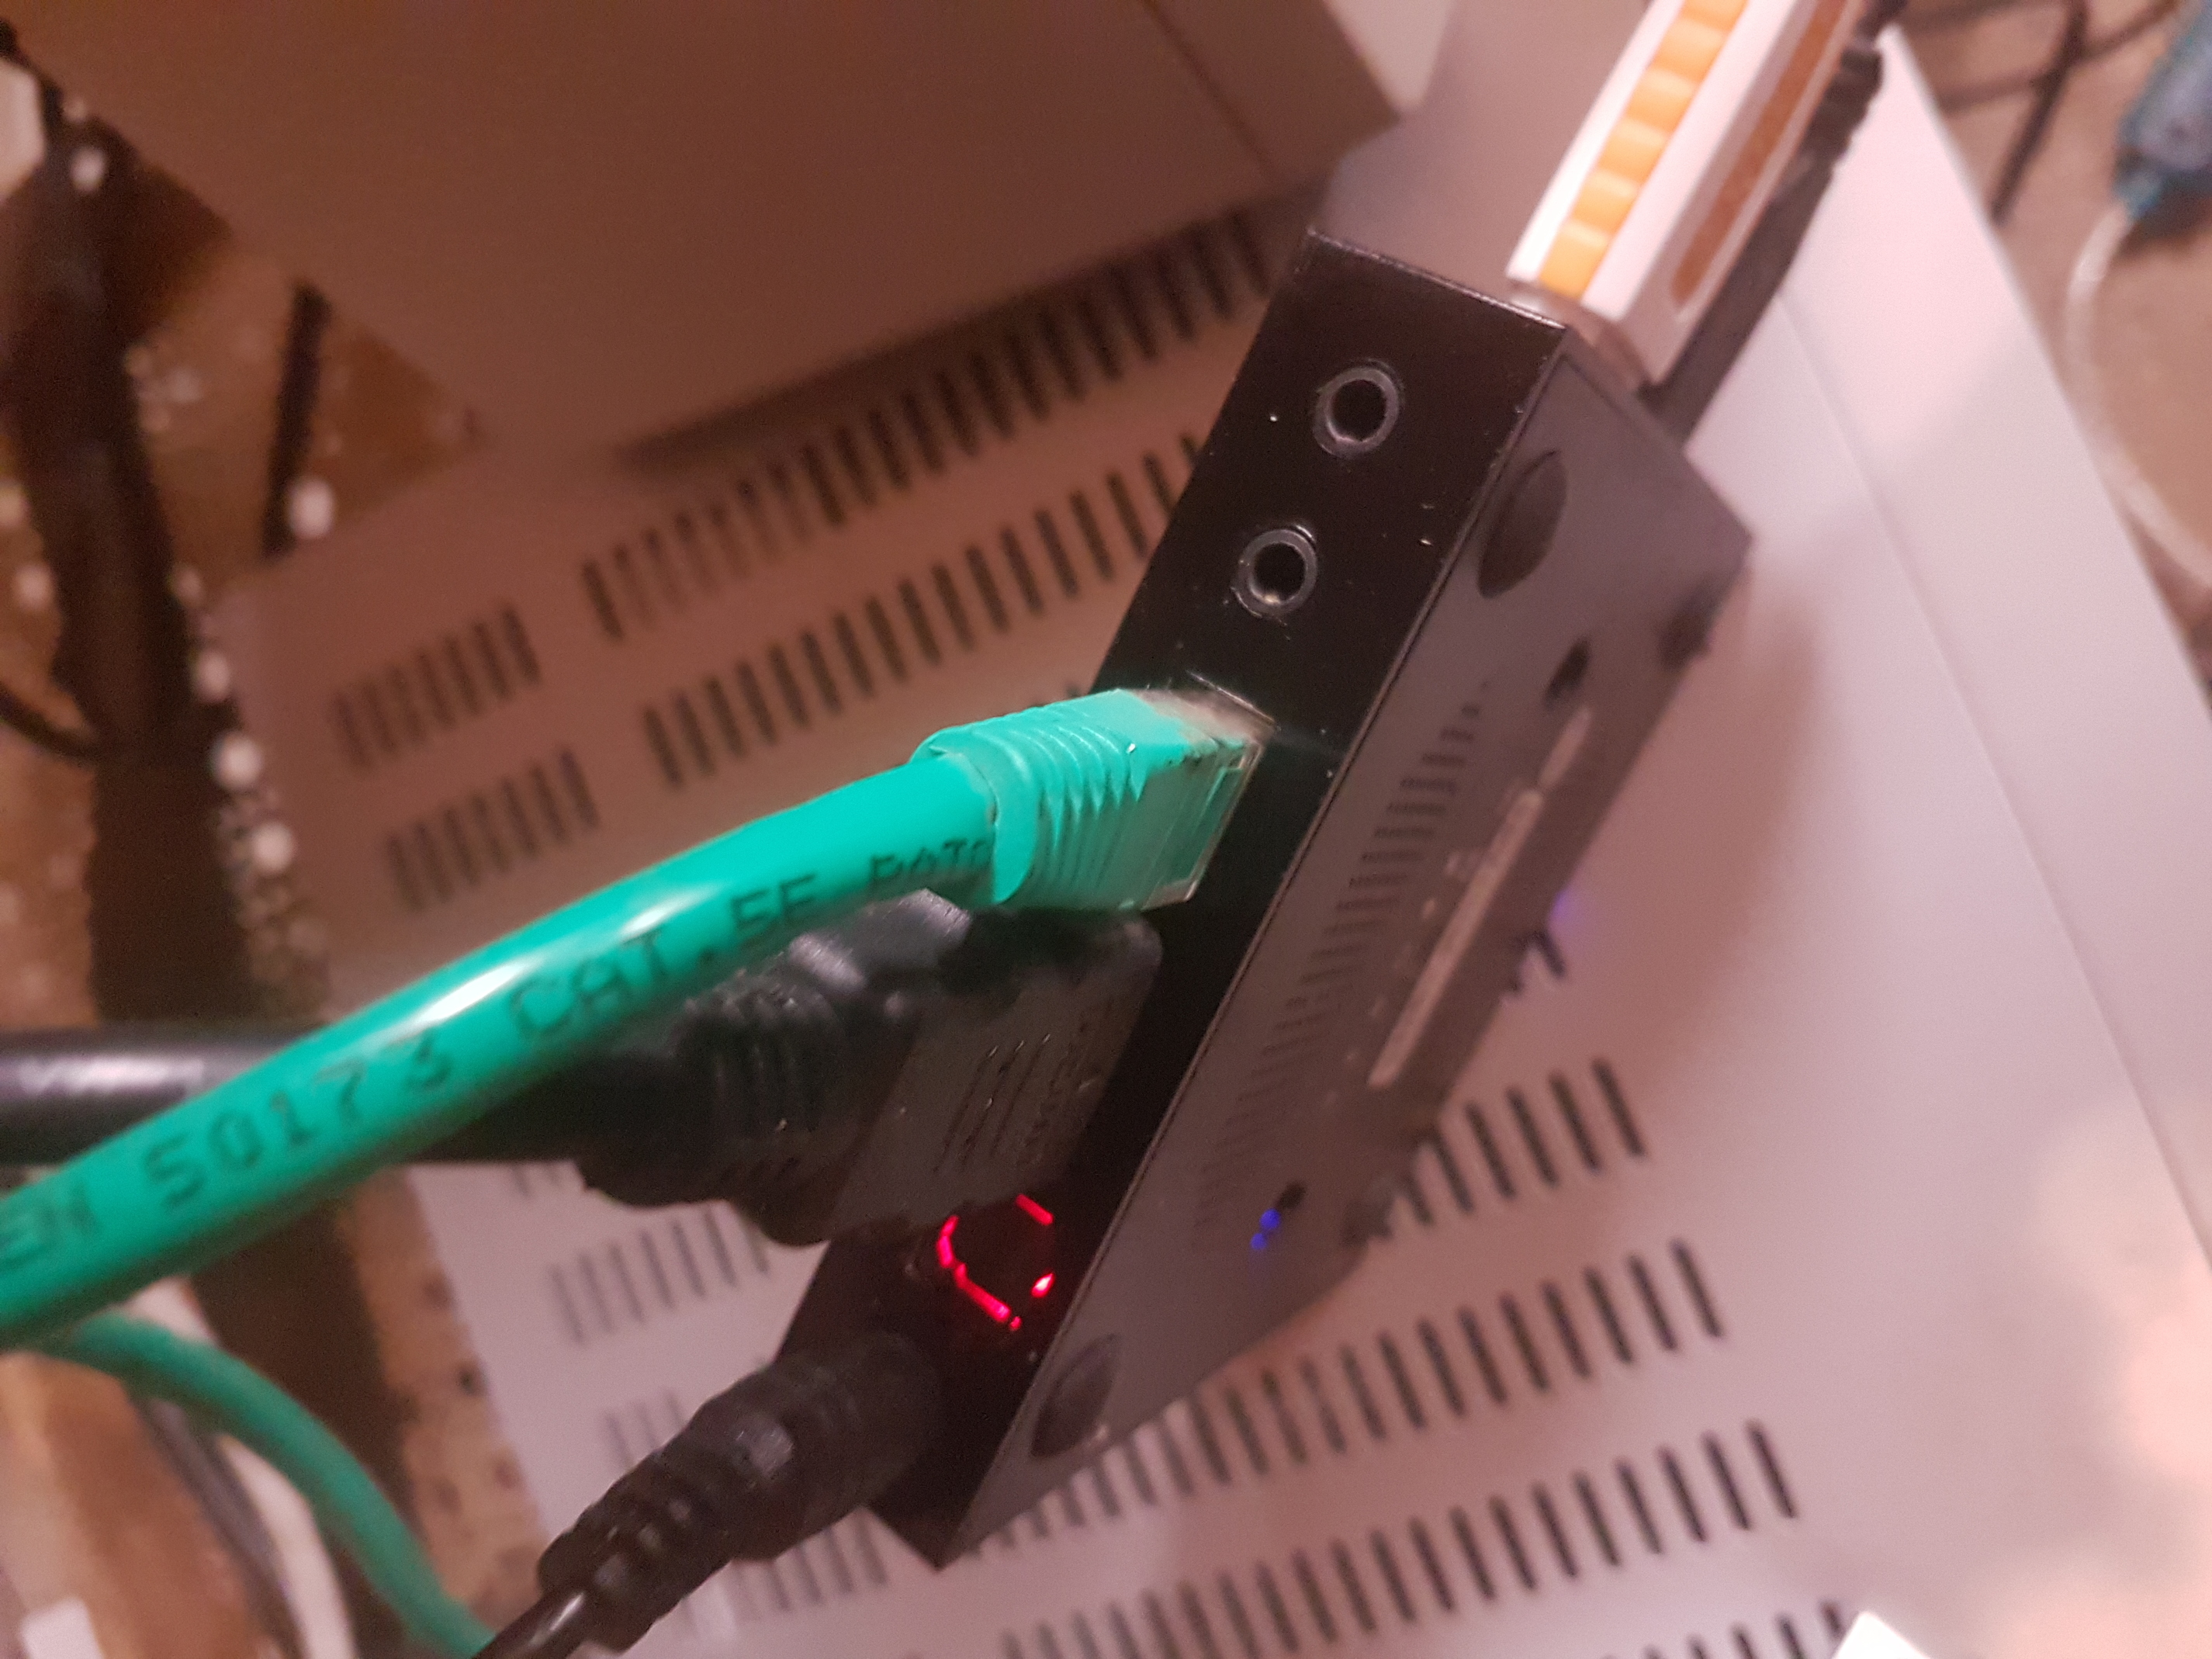
That being said I booted the supplied image but I don’t see any incoming network connections. I am using wired ethernet, if that helps, but a quick scan on the MAC address tells me it is not online.
Sorry! I made a typo with the debugip setting. I’ve fixed it now. Please find the updated image here. I’m not near a display currently, hence the lack of testing.
You will only get a black screen unless you start the installer manually.
I wonder if the Vero is confused about the partition table. I would recommend running this (off the top of my head, so paths may need a quick fix up).
mount /dev/sda1 /mnt
dd if=/mnt/dtb.img of=/dev/dtb bs=256k conv=sync
umount /mnt
Now unplug the device. Boot up with a non conductive pin / toothpick pushed in the back of the device, nearest to the Ethernet port. You’ll hear a click when you press the switch in. This will force a partition table resync. Now you can follow the previous instructions for dd, creating the LVM and formatting.
Now unplug the device. Boot up with a non conductive pin / toothpick pushed in the back of the device, nearest to the Ethernet port. You’ll hear a click when you press the switch in. This will force a partition table resync. Now you can follow the previous instructions for dd, creating the LVM and formatting.
Ok not wanting to throw a spanner in the works but I don’t have a reset hole or switch unless I am being exceptionally unobservant.
But at least netcat works now and I have a limited shell. Maybe ssh should be installed by default like on the raspberry pi but not enabled unless you put ssh in /boot or something.
Anyway I will try zeroing the partitions now and see what happens.
EDIT:
OK that did not go well and I am suspecting a corrupt eMMC.