You might want to have a look at this nice Skin called AppTV:
http://forum.kodi.tv/showthread.php?tid=214143
Its fast, simple and works well ![]()
You might want to have a look at this nice Skin called AppTV:
http://forum.kodi.tv/showthread.php?tid=214143
Its fast, simple and works well ![]()
@wrxtasy - I looked at that. Its nice and clean.
I meant from a point of view of Native ATV functionality / AirPlay + HomeSharing etc… Things that would be easy work in the Apple World (SInce I have iPhone and iPad).
What kind of things from that world would not be directly available on CB2 based ATV?
@xbliss Just a guess, but I would think that streaming programs directly from iTunes on a Mac or PC wouldn’t work. And Airplay seems to be a little wonky with CB2.
@Bonnie_Raitt Did you manage to solve your resize?
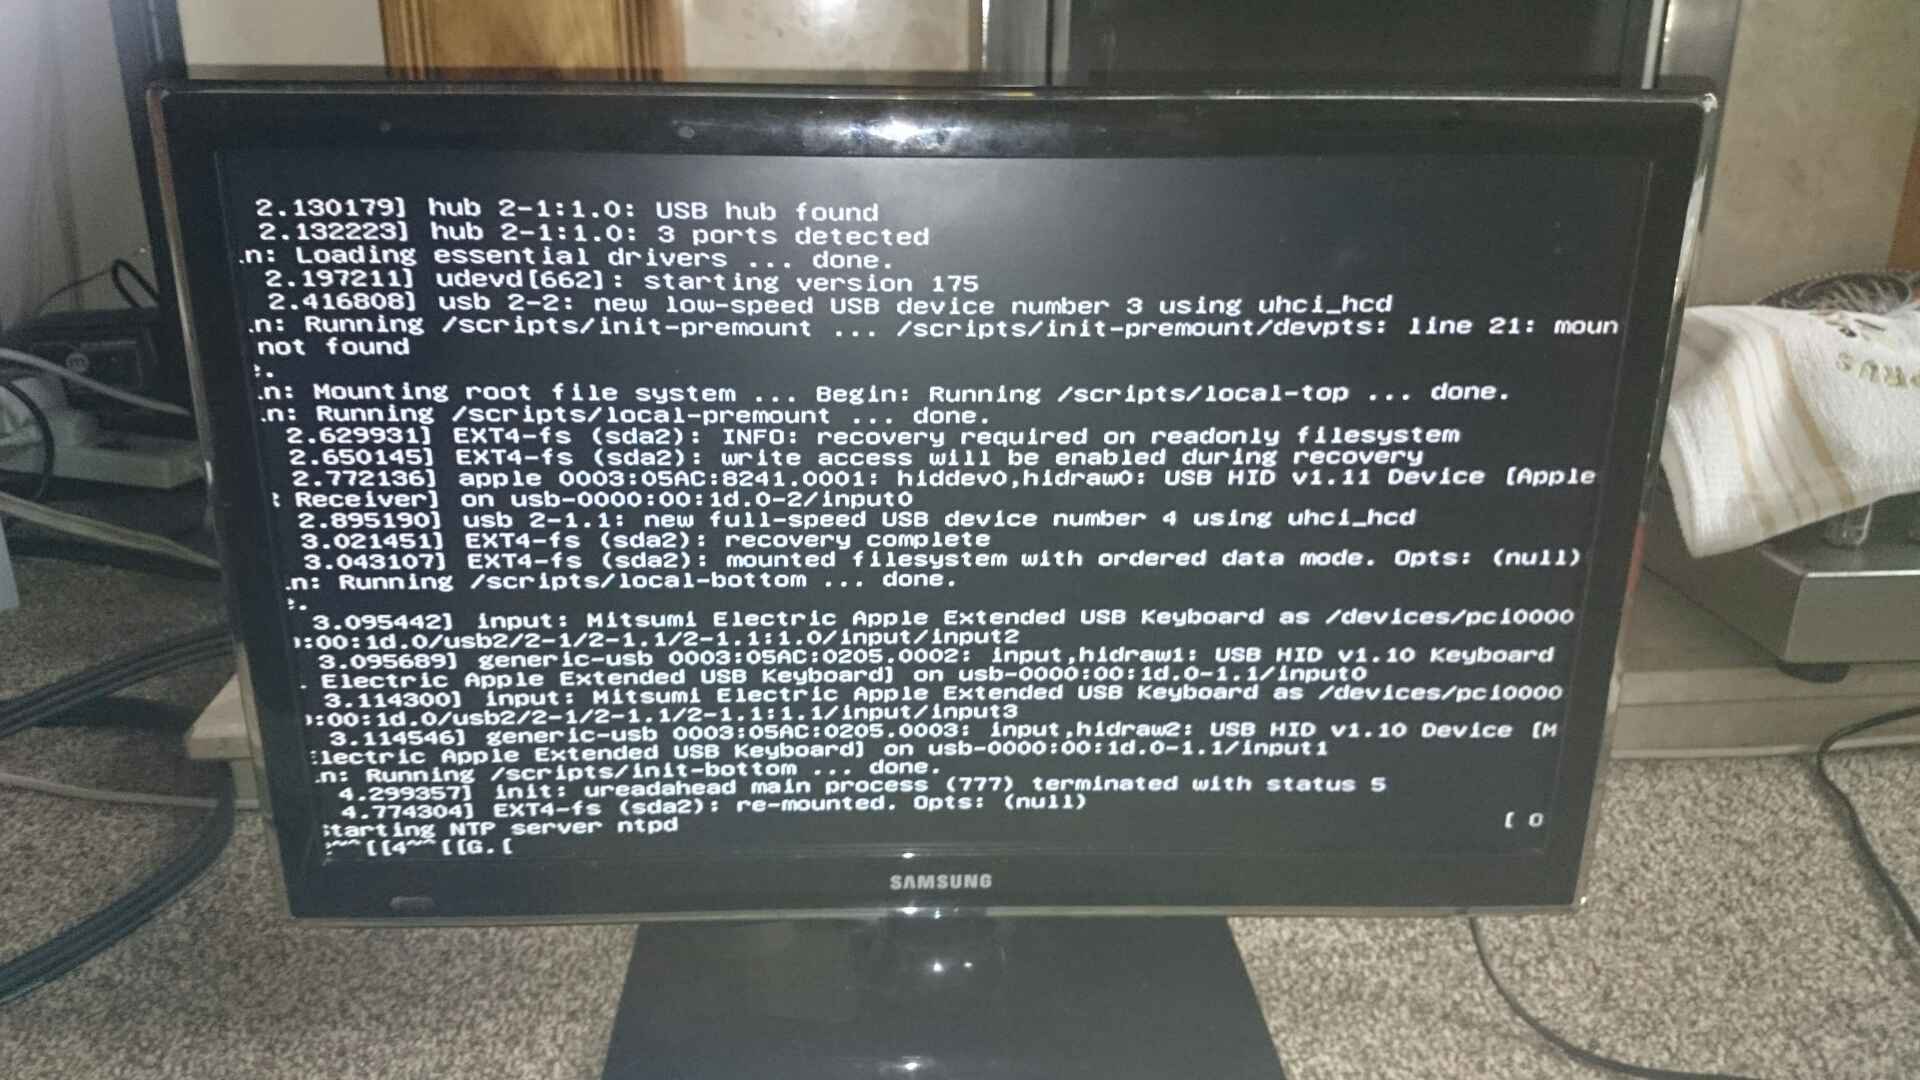
I’ve been trying to expand the sda2 partition from 40gb to 160 as you said. The resize command cannot be executed as the device needs to be unmounted. I tried to unmount it and obviously I can’t as it’s busy. This leads me to the question, how can I execute your ‘resize’ command?
Assuming it made a difference I installed gparted, but it never starts as:
(gksu:2192): Gtk-WARNING **: cannot open display:
Can Gparted/parted be executed as a live usb OS in the atv and perform the resize from there?
Thanks for your help & patience.
Of course gparted isnt going to work… I never said to use that. I said you can mess with atvboot to boot up Gparted, but I really meant Gparted Live. This whole mess is pretty much a parody now. If I were you, I’d forget about OSMC for the ATV and just get a raspberry Pi 2.
Thanks man for the unsolicited advice. I have two Pis that work quite well, I was looking for advice on parted that looked like you had some knowledge to share. My bad that isn’t the case.
I finally gave up. I couldn’t figure out a way without removing the hard drive which I didn’t want to do
No need for that passive-aggressive bs. You obviously don’t get it. I’ve said twice already that you need to use ATV boot loader to boot Gparted Live. (Or just kexec directly from CB2) The advice I had regarding Parted I already shared, too bad the partition is locked.
Hello there,
I’ve been following you’re links to install Crystalbuntu2 on my ATV1.
But now I’m stuck.
I previously used OpenELEC ATV1 on a CRT TV. iPlayer stopped working so I reset to Apple but that was futile. Don’t want to pay to watch free BBC.
Here’s what I’ve done:
There is a way to use kernel 4.x with legacy nvidia driver.
Edit: can confirm this works. I have Kodibuntu running on the ATV with kernel 4.1.2 with Nvidia driver working just fine.
You might try that link again. Christian Hewitt has posted updated versions, including Isengard 15.0 RC2 for ATV1. I bought a Raspberry Pi 2 because I thought it would be an upgrade, but have had problems with my remote and with digital audio. I’m back to my ATV and am happy for the moment with Kodi 14.2, at least until I can sort out my RPi setup.
Openelec is kinda useless on the ATV1, even though it should in theory perform better than a regular distro. I have no idea why (apart from the ATV1 lacking ram).
This should be:
nano /etc/X11/xorg.conf
Maybe I could have a go at making a crude offlineinstaller, so that the install takes 5min instead oh hours… and use the full space of whatever disk you have installed.
I need an archive for both the boot partition and rootfs.This should probably do it:
First delete your .xbmc or .kodi folder (Not sure if there is some weird symlinking going on in CB2) or just add --exclude=/home/atv/.xbmc --exclude=/home/atv/.kodi to the oneliner.
(that is an one-liner)
The swap file will be autorestored at next boot.
Hi Arvind! Right now i boght an ATV1 with openelec already installed, but for some reason cant download any addons to it. so i was thinking that should use crystalbuntu.
Two questions
To wrap up, based on my own success and the magnificent job and previous tips here from @wrxtasy & @Bonnie_Raitt, for those interested in this scenario:
Replacing the original HD (ideally by an SSD) with >40Gb capacity (120Gb in my case).
Installing CRYSTALBUNTU 2 on it, using a 40 Gb image.
Expand the partition and filesystem to take advantage of the SSD’s
full capacity
Here you can find a quick tutorial:
Take aparte the Apple TV 1gen and physically replace the original HD by the upgraded one.
Download the 40Gb Crystalbuntu image (many thanks Arvind !!)
https://docs.google.com/uc?id=0B_2SE2NYhMjQSnZldGhWdk4xUkk&export=download
Install OpenELEC into a external USB key:
http://wiki.openelec.tv/index.php/HOW-TO:AppleTV_Installation/Create_the_USB_Key
Instert this OpenELEC key in the AppleTV 1Gen usb port and turn it on.
Await until it automatically finishes insytalling OpenELEC. It will bring you to the XBMX UI.
SSH to it. Type this in terminal:
ssh root@your.atv.ip.local.address.
password: openelec
your.atv.ip.local.address can be found in OpenELEC > System Info > Network.
Now i’s time to copy the image substituting the current OpenELEC installation, typing this:
dd if=/current.file.user.path/crystalbuntu2.img40GB.bz2 | bzip2 -d | dd of=/dev/sda
It takes very long… 3 hours aprox.
Once it has finished, reboot the ATV and now it will load in XBMC Crystalbuntu.
Now it’s time to expand the primary partition to take up the full capacity of your SSD.
As it’s going to be required to unmount the partition where the linux filesystem is installed and our expansion target, it will be required to be connected by means of a SATA-USB adapter to a Linux laptop and to manage this task on it as a secondary unit (I used the ATV itself with the original 40Gb HD with Crystalbuntu installed in it too as primary unit and our SSD target unit connected to the USB port).
Once it is done and connected, start typing this commands:
To install Parted, it is required first to update:
sudo apt-get update
Then, install Parted:
sudo apt-get install parted
Check partitions and filesystems ids:
df -h
The external SSD to be expanded should be /dev/sdb2
parted /dev/sdb print (check sector limits)
And you will find something like this:
Number       Start        End          Size      File system       Name         Flags
1             210MB      52.4MB       26.1MB        hfs+         Recovery      atvrecv
2            52.4MB     40000MB    39947.6MB        ext3

sudo umount /dev/sdb2 (unmount the required partition)
fsck -n /dev/sdb2 (check for no filesystem errors)
tune2fs -O ^has_journal /dev/sdb2 (makes into extID)
parted /dev/sdb print (shows current partition list)
Here comes the tricky part:
parted /dev/sdb rm 2 (remove ext3, yes, where the CB2 image is installed, we will re-add expanded next step, don't worry, data will be secured)
parted /dev/sdb mkpart primary 52.4M 118000M (re-add the ext3 with larger partition)
parted /dev/sdb mkpartfs primary linux-swap 118000M 120000M (To create a 2Gb linux-swap partition at the end)
e2fsck -f /dev/sdb2 (force fs check)
resize2fs /dev/sdb2 (resize the ext3)
tune2fs -j /dev/sdb2 (change back to ext3)
reboot (or unplug the drive and plug it again to check)

Number       Start        End          Size      File system       Name         Flags
1             210MB      52.4MB       26.1MB        hfs+         Recovery      atvrecv
2            52.4MB    118000MB     118000MB        ext3
3          118000MB    120000MB       2000MB     linux-swap
Place the SSD inside the ATV1 again and, that’s all!!
I hope it helps someone.
^If you have access to a usb/ata-adapter, then you should restore the image directly to that USB (or you could just slap the sata drive in your pc if you have a sata slot available. It’ll save you those 3 hours… and you should just resize the partition without deleting it first…then resize the fs. should take about 10 seconds. And that swap at the end is unneeded because CB2 use a swapfile that resides on the normal rootfs. But hey, if it works for you , then all the better 
You are right @soli, the point is that my PC is a Macbook… no SATA slots available 
Thanks anyway!
Soli asked for a tar of CB2 to make a quicker offline installer. I didn’t see the request or I would have done it sooner, just not on the forum a lot. I’m afraid I am retiring my ATV1, the FireTV and RP2 have my attention these days, and I got tired of waiting for OSMC for the ATV. I appreciate all the work that has went in to crystalbuntu over the years(Thank you Sam, sincerely thank you), and all that have kept it going after CB2 development ceased. I am also sorry I didn’t contribute more, my free time has always been used working Android ROM’s and kernels, and I was always hoping to add something here and just couldn’t find time. I tried the new OE, I think CB2 still feels better with Kodi15alpha2, would have loved to see the Ubuntu 14.04 work being done.
@Soli I had a lot of cleanup to do as I had a slightly customized ATV(fstab, rc.local, etc) which I cleaned up. I still left a deb in root, and a Kodi14.2 .sh in /home/atv which you should probably delete. If we have moved on from CB2 and this isnt needed so be it, didn’t take much time to tar and upload.
CB2 boot and root tar (no kodi/xbmc) ~580MB
https://drive.google.com/file/d/0BxXI2V4E_-HjMjBHYWc5aFozcG8/view?usp=sharing
Thank. At this stage, there isn’t much incentive to make an offline installer since there already exists a working alternative with Isengard 15.1.
Cheers