Instructions for installation of CouchPotato and SickChill for Raspberry Pi
** UPDATE - November 2019 - fixed unrar error, unrar replaced with p7zip and p7zip-full.
Three different installation scripts for SickRage, SickChill or Medusa.
Changed SickRage git repo to: GitHub - SiCKRAGE/SiCKRAGE: Mirror of OFFICIAL SiCKRAGE
** UPDATE - December 2018 - edit and uploaded new scripts to install SickChill.
They are at the bottom of this post.
** UPDATE - at the end of instructions are the scripts that automatically installs couchpotato, sickchill, unrar, zip, rpimonitor, syncthing and headphones* *
** Fixed old Sickrage link to new: GitHub - SiCKRAGE/SiCKRAGE: Mirror of OFFICIAL SiCKRAGE (jan2016, dec2018 - now there is SickChill)* *
** Added new installations scripts for syncthing and headphones (jan2016)* *
** important note! Use completed folder for torrents on external disk, otherwise there will be problems with permissions. (July2016)* *
CouchPotato
_
- SSH into your working instance of OSMC on your Raspberry Pi or Raspberry Pi 2.
For example: ssh osmc@192.168.xxx.xxx
User: osmc
Pass: osmc
_
2. Create a user, mod his groups, and make empty home folder for ~/.couchpotato configs
    sudo useradd couchpotato
    sudo usermod -a -G osmc couchpotato
    sudo mkdir /home/couchpotato
    sudo chown -R couchpotato:couchpotato /home/couchpotato
If you get error: sudo: git: command not found
First run command:
sudo apt-get update && sudo apt-get install git
_
3. Clone (download) CouchPotato and assign right folder ownership
    sudo git clone http://github.com/RuudBurger/CouchPotatoServer /opt/CouchPotatoServer
    sudo chown -R couchpotato:couchpotato /opt/CouchPotatoServer
_
4. Create the correctly configured systemd unit for CouchPotato. Edit its [Service] section ExecStart path.
   cd /opt/CouchPotatoServer
   sudo cp ./init/couchpotato.fedora.service ./init/couchpotato.service
   sudo nano ./init/couchpotato.service
Find and change line ExecStart=/var/lib/CouchPotatoServer/CouchPotato.py --daemon
New line should look like this ExecStart=/opt/CouchPotatoServer/CouchPotato.py --daemon
Replace var/lib with opt
Before saving it should look something like that (works autorestart) :
    [Unit]
    Description=CouchPotato application instance
    After=network-online.target

    [Service]
    ExecStart=/opt/CouchPotatoServer/CouchPotato.py --daemon
    GuessMainPID=no
    Type=forking
    User=couchpotato
    Group=couchpotato
    KillMode=process

    [Install]
    WantedBy=multi-user.target
_
5. Install a systemd unit of CouchPotato
sudo cp ./init/couchpotato.service /etc/systemd/system/couchpotato.service
_
6. Launch the daemon at startup
sudo systemctl enable couchpotato.service
_
7. Launch the daemon.
Enjoy results on http://192.168.xxx.xxx:5050 or http://osmc:5050 (or whatever your Raspberry Pi IP address or name is)
sudo systemctl start couchpotato.service
Use different completed folder for Movies and NOT the same for TV Shows.
Example:
/HD/Downloads/Movies - Movies (CouchPotato)
/HD/Downloads/Completed - TV Shows (SickChill)
SickChill
_
-
Create a user, mod his groups, and make empty home folder for ~/.sickchill configs
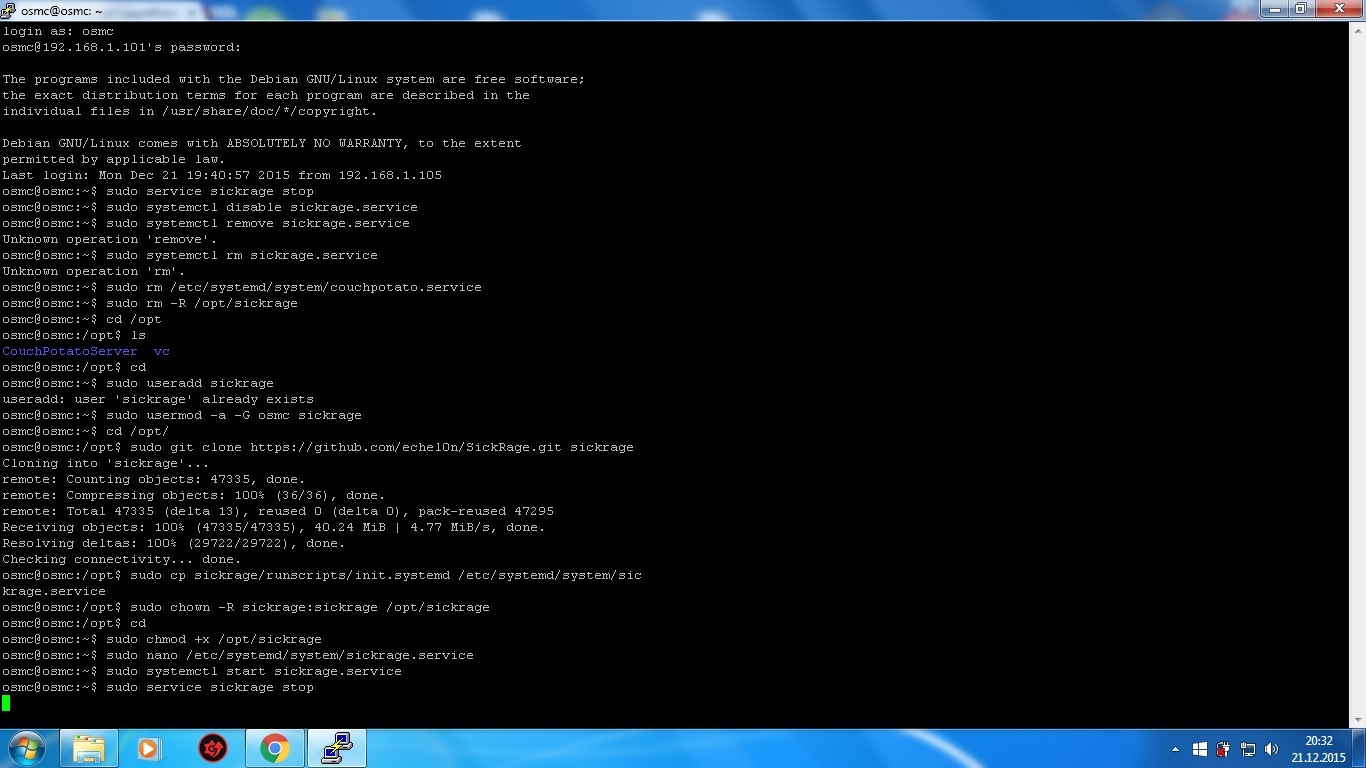
 sudo useradd sickchill
 sudo usermod -a -G osmc sickchill
 cd /opt/
 sudo git clone https://github.com/SickChill/SickChill.git sickchill
 sudo cp sickchill/runscripts/init.systemd /etc/systemd/system/sickchill.service
 sudo chown -R sickchill:sickchill /opt/sickchill
If you don’t have enough permission use command:
sudo chmod +x /opt/sickchill
_
2. Edit service file:
sudo nano /etc/systemd/system/sickchill.service
_
3. Remove “/usr/bin/python2.7”:
Before change:
ExecStart=/usr/bin/python2.7 /opt/sickchill/SickBeard.py -q --daemon --nolaunch --datadir=/opt/sickchill
After Change:
ExecStart=/opt/sickchill/SickBeard.py -q --daemon --nolaunch --datadir=/opt/sickchill
_
4. Launch the daemon at startup
sudo systemctl enable sickchill.service
_
5. Launch the daemon, at first start sickchill create settings file config.ini
sudo systemctl start sickchill.service
_
6. Stop sickrage to edit config.ini
sudo service sickchill stop
_
7. Add username and password into config.ini:
sudo nano /opt/sickchill/config.ini
search for:
web_username = ""
web_password = ""
and add your yousername (example):
web_username = "osmc"
web_password = "osmc"
If you don’t do that, your Pi may freeze when you try login into sickrage. Beacuse there is no username and password.
_
8. Start the daemon to accept new username and password.
sudo service sickchill start
If you get some error after this, you have two options:
- Maybe you didn’t edit file sickrage.service
- Or applications doesn’t have enought permissions to folder.
(If sickchill doesn’t start, you probably didn’t delete path “/usr/bin/python2.7” from /etc/systemd/system/sickchill.service)
Now try to open http://192.168.x.xx:8081 or http://osmc:8081
For SickChill is can be port 8899: http://192.168.x.xx:8899 or http://osmc:8899
Solution for “A stop job is running for SickRage/SickChill daemon (1m 30s)”, when you reboot or shutdown Raspberry Pi
Connect with ssh, and try following:
sudo nano /etc/systemd/system/sickchill.service
Under ExecStart add following:
TimeoutStopSec=5s
Ctr+x, Y, enter.
It should look like this:
[Unit]
Description=SickChill Daemon
[Service]
User=sickchill
Group=sickchill
Type=forking
GuessMainPID=no
ExecStart=/opt/sickchill/SickBeard.py -q --daemon --nolaunch --datadir=/opt/sickchill
TimeoutStopSec=5s
[Install]
WantedBy=multi-user.target
Or just use this simple command:
sudo sed -i '55i TimeoutStopSec=5s' /etc/systemd/system/sickchill.service
BONUS
Transmission script for autoremoving completed torrents:
_
- Stop Transmission:
sudo service transmission stop
_
2. Go to transmission location and create new file:
cd
 cd .config
 cd transmission-daemon
sudo nano autoremove.sh
_
3. Copy and paste text below, change “yourusername” and “yourpassword” to
your user and password for transmission. After you paste it and edit,
press “ctrl+x”, “y” and “enter” (be careful how is text copied, it must
be same as here, otherwise will not work correctly):
#!/bin/sh
#the folder to move completed downloads to port, username,
#password
SERVER="9091 --auth yourusername:yourpassword"

#use transmission-remote to get torrent list from
#transmission-remote list use sed to delete first / last line
#of output, and remove leading spaces use cut to get first
#field from each line
TORRENTLIST=`transmission-remote $SERVER --list | sed -e '1d;$d;s/^ *//' | cut --only-delimited --delimiter=" " --fields=1`
transmission-remote $SERVER --list

#for each torrent in the list
for TORRENTID in $TORRENTLIST
do
echo Processing : $TORRENTID

#check if torrent download is completed
DL_COMPLETED=`transmission-remote $SERVER --torrent $TORRENTID --info | grep "Percent Done: 100%"`

#check torrents current state is
STATE_STOPPED=`transmission-remote $SERVER --torrent $TORRENTID --info | grep "State: Seeding\|Stopped\|Finished\|Idle"`
echo $STATE_STOPPED

#if the torrent is "Stopped", "Finished", or "Idle" after
#downloading 100%"
if [ "$DL_COMPLETED" ] && [ "$STATE_STOPPED" ]; then

#move the files and remove the torrent from Transmission
echo "Torrent #$TORRENTID is completed"
echo "Removing torrent from list"
transmission-remote $SERVER --torrent $TORRENTID --remove
else
echo "Torrent #$TORRENTID is not completed. Ignoring."
fi
done
_
4. Edit settings.json:
sudo nano settings.json
- Search for:
"script-torrrent-done-enabled": false,
Now change “false” to “true”
"script-torrrent-done-enabled": true,
_
6. Set path to script in settings.json. Search for:
"script-torrent-done-filename":"",
Add path:
"/home/omsc/.config/transmission-daemon/autoremove.sh"
Now looks something like this:
"script-torrent-done-filename": "/home/omsc/.config/transmission-daemon/autoremove.sh",
- Run transmission service:
sudo service transmission start
Enable usb hard drive over samba
_
- edit samba configuration file:
sudo nano /etc/samba/smb.conf
_
2. add text below comment = OSMC Home Directory
[media]
browsable = yes
read only = no
valid users = osmc
path = /media/
comment = USB media
- now should look something like this:
[osmc]
browsable = yes
read only = no
valid users = osmc
path = /home/osmc
comment = OSMC Home Directory
[media]
browsable = yes
read only = no
valid users = osmc
path = /media/
comment = USB media
_
4. restart samba service
sudo service samba restart
Script for update couchpotato
- create file
sudo nano cp-update.sh
- copy text into file
#!/bin/bash
# CuchPotato Auto Update Script from htpcBeginner
sudo service couchpotato stop
sleep 10
#foldee where is installed couchpotato
sudo mv /opt/CouchPotatoServer /opt/CouchPotatoServer.old
cd /opt/
sudo git clone GitHub - CouchPotato/CouchPotatoServer: Automatic Movie Downloading via NZBs & Torrents /opt/CouchPotatoServer
sudo service couchpotato start
_
- run script
sudo sh cp-update.sh
- Script moves /opt/CouchPotatoServer to /opt/CouchPotatoServer.old. If you wish to delete old version, you can use command below or change below “old line in script” to “command”
command or new line in script:
sudo rm -R /opt/CouchPotatoServer
old line in script :
sudo mv /opt/CouchPotatoServer /opt/CouchPotatoServer.old
info: Setting are saved in /home/couchpotato/.couchpotato
Fix for removing movies from couchpotato/kodi
Fix for issues for removing movies with couchpotato or kodi, solution was posted by member Martin.
Run only this command in ssh:
sudo chfn -o umask=002 couchpotato
Scripts with easy installation
**NEW UPDATE (November 2019) fix unrar error, changed to p7zip and p7zip-full.
Three different installation scripts (easy installv3.1-M.sh (Medusa), -SC (SickChill), -SR (SickRage):
https://www72.zippyshare.com/v/tmqRHBZ9/file.html
**Old scripts (December 2018) SickChill Scripts:
https://www86.zippyshare.com/v/ye9E8xor/file.html
Copy file easyinstall.sh to osmc home folder and run command:
For Previous version:
sudo sh easyinstallv3.sh
OR for new versions:
sudo sh easyinstallv3.1-SR.sh for SickRage
OR
sudo sh easyinstallv3.1-SC.sh for SickChill
OR
sudo sh easyinstallv3.1-M.sh for Medusa
easyinstall.sh - installs sickchill, couchpotato, zip, unrar (username and password for sickchill is osmc)
easyinstallv3.sh - same as easyinstall.sh, only with comments (recommended if something goes wrong)
cp-update.sh - update couchpotato, rename old versions to CouchPotatoServer.old
cp-update-rmold.sh - delete old version, installs new CouchPotatoServer (settings and database are saved at /home/couchpotato/)
autoremove.sh - script for removing completed torrents in transmission
uninstall.sh - unistalls zip, unrar, couchpotato, sickchill (make backup of database before doing this, location for couchpotato is /home/couchpotato)
installsyncthing.sh - syncthing for snyc files between devices (include 2 scripts for crontab for sorting photos and videos)
installheadphnes.sh - application for downloading music
TIP:
If you have any write problems on external drive, you could try to change with which Group should SickChill started (sickchill to osmc).
Run first command to add user sickchill to osmc Group:
sudo useradd -G osmc sickchill
Example of sickchill.service:
[Unit]
Description=SickChill Daemon
[Service]
User=sickchill
Group=osmc
Type=forking
GuessMainPID=no
ExecStart=/opt/sickchill/SickBeard.py -q --daemon --nolaunch --datadir=/opt/sickchill
TimeoutStopSec=5s
[Install]
WantedBy=multi-user.target
What’s changed:
Before: Group=sickchill
After: Group=osmc


 (every time when it fails, i did a fresh install) i did apt-get update/upgrade/dist-upgrade, everything.