To watch broadcast (OTA or cable) TV on your OSMC device you need these:
- a TV tuner attached via USB or a networked TV box
- software ‘server’ to handle the tuning, retrieve OTA EPG and act as a PVR
- an addon for Kodi which interfaces Kodi to the server
OSMC provides a USB tuner in the online Store, the TVHeadend server and the TVHeadend HTSP client to do all this. Here’s how to set it up. If you bought the OSMC dongle or a similar one with two tuners in it then READ THIS GUIDE THROUGH - especially the bit about enabling only one of those tuners!
Plug the tuner into a USB port and attach a good aerial or cable connection.
Make sure your device is connected to the internet and install TVHeadend from the AppStore by selecting MyOSMC->AppStore (the shopping trolley icon). Click on TVHeadend Server, then Install. Click Apply in the bottom right corner and you should get a message ‘Operations successfully completed’.
Now you have to configure TVHeadend to tell it which frequencies to listen to. From the Home screen, select Settings->System info->Network and make a note of the IP address. As an example we will assume it is 192.168.1.99.
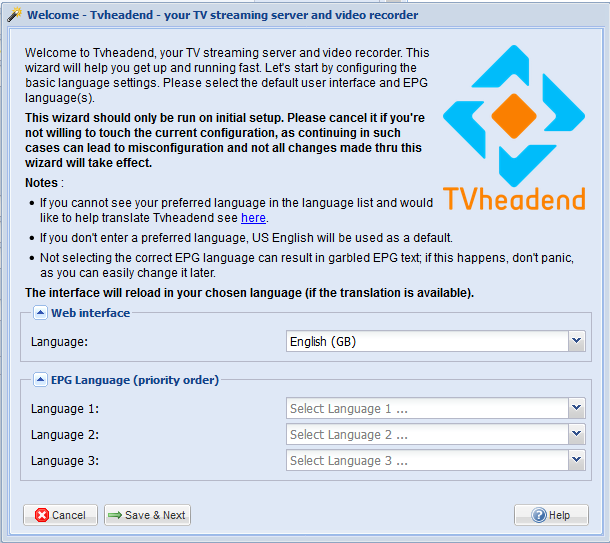
From any other machine on your network, open a browser and navigate to 192.168.1.99:9981. Use osmc as both the username and password to log on. If this is the first time you have installed TVHeadend, a wizard should start and you will see the following screens in turn:
Choose your language
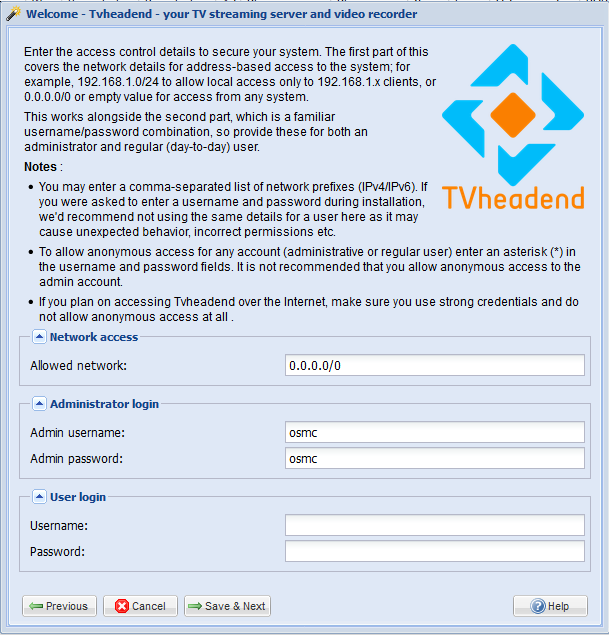
Specify the client machines which will have access to the server (read the notes) and accept the admin username and password. No need for other users at this stage.
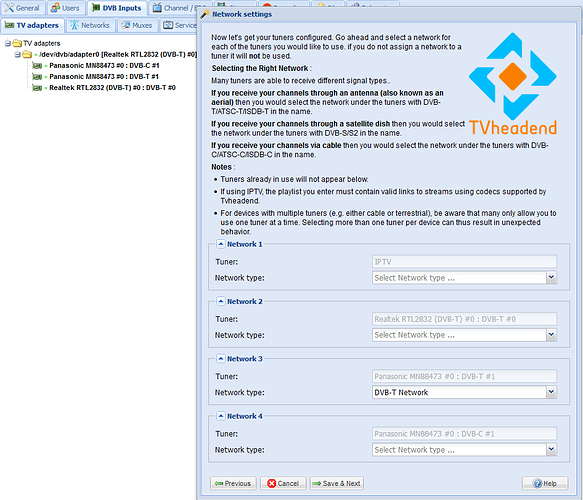
Specify the type of networks you are going to use. If you don’t see a list of TV adapters in the main screen then your adapter has not been recognised. Important: the OSMC dongle has two DVB-T tuners. You should use one or the other, but not both. The Realtek tuner does not support DVB-T2 so leave the Network type empty for that tuner and just select DVB-T Network for the other tuner (Panasonic, or Sony in later versions of the OSMC dongle). If you select the Realtek tuner you may have to resort to the commandline to change it later - so be careful. See post 3 below.
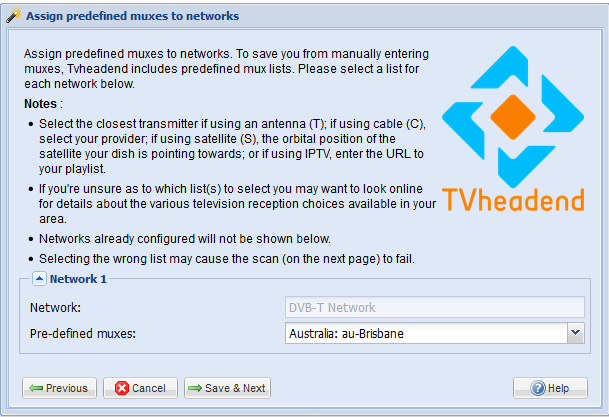
For OTA TV, pick your local transmitter from the drop-down list.
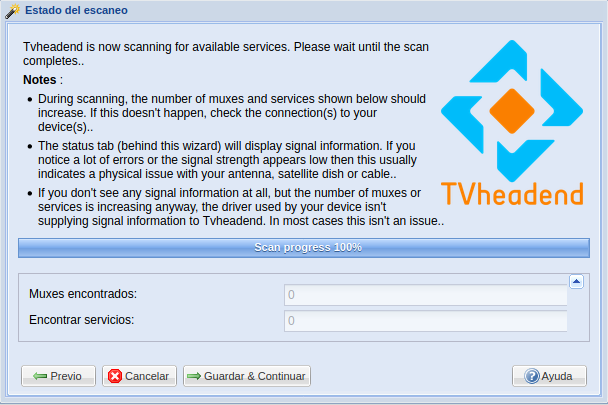
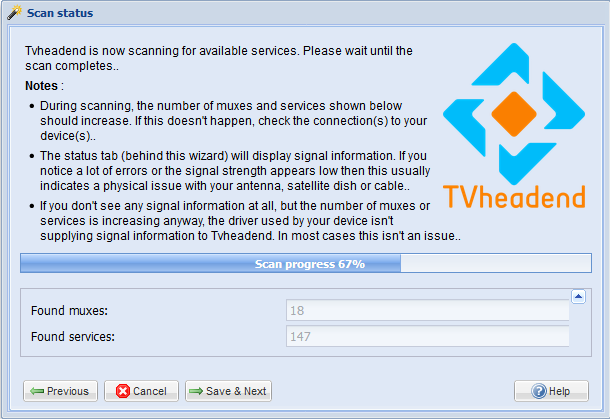
The wizard now tells TVHeadend to scan for channels.
Then you have to map the channels you want to watch. It is easiest to map them all at first, then you can disable the channels you don’t want later.
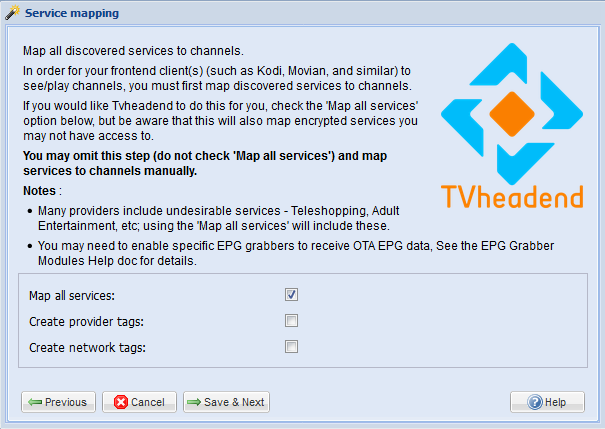
When you click Save & Next you are all done with the wizard. To remove channels you don’t want to watch, go to Configuration->Channel/EPG->Channels.
You may like to look at the tab EPG Grabber Modules to enable suitable EPG grabbers. In order to see it, you have to enable Advanced or Expert View. This can be set for all users in Configuration->General.
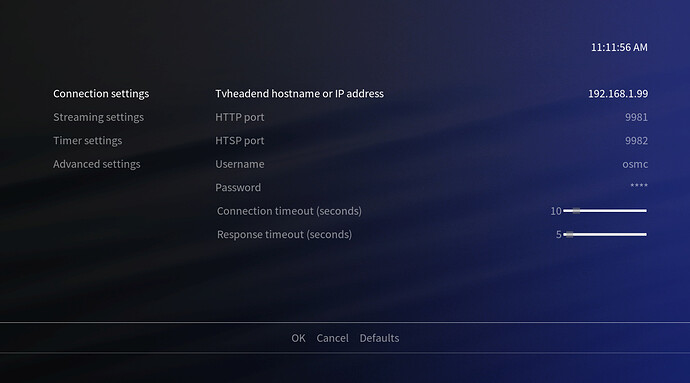
The final step is to enable the TVHeadend HTSP Client in Kodi. Click Settings->Add-on Browser->My add-ons->PVR clients->Tvheadend HTSP Client->Configure. Fill in the information like this (using the example IP here but 127.0.0.1 will also work).
Click OK and Enable and you are all set.
